O Gauge Modelling on the GWR
A personal Journey
Trackwork
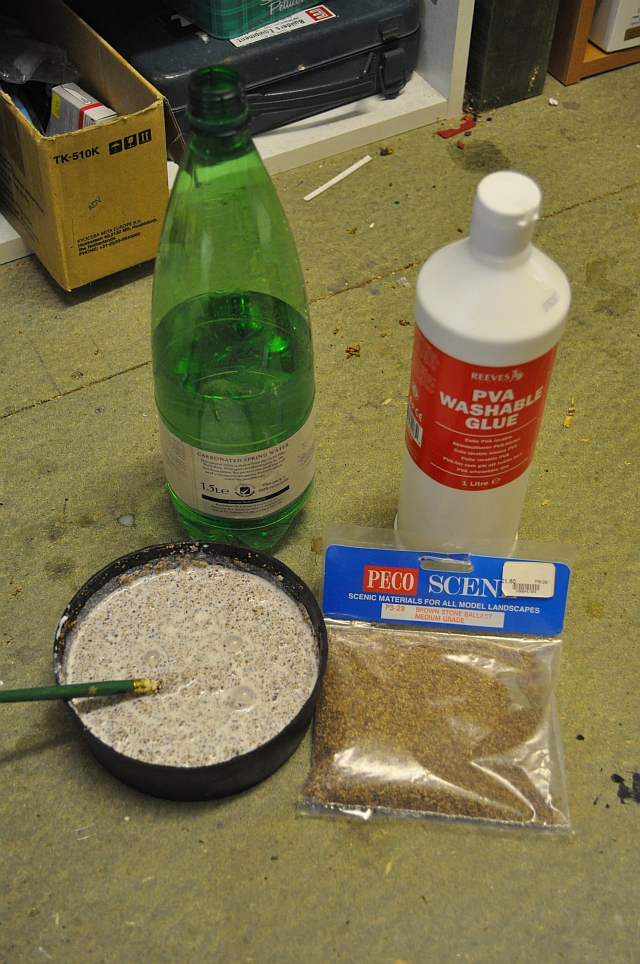 |
Starting with the ingredients water PVA, (the clear more expensive sort) a mixing bowl, (I use a rubber one purchased from Squires) Medium grade brown ballast, (PECO PS-29 for sidings) oh and two palette knives a large one and a small one Method: Take One and a half bags of ballast and pour them into the mixing bowl Add a little water Add neat PVA, (I used to use Reeve's but they don't make it/sell it any more so another good quality PVA that dries clear is what I use now), make up a 'porridge' of the solution, (not runny). This glue dries clear so you won't see it once its dried overnight. I use this porridge mix in different ways as you will see later on. |
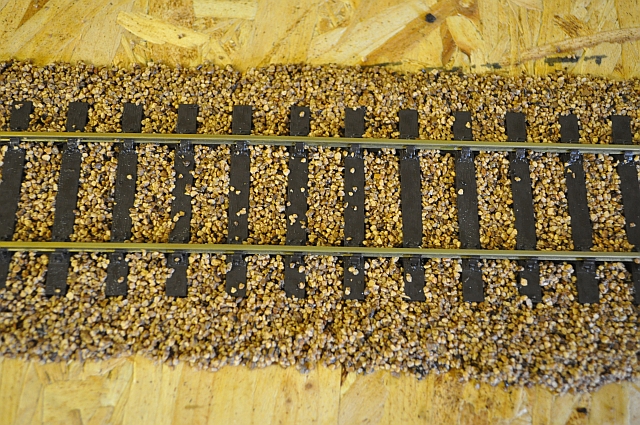
| This is the end result. As you can see its quite solid and any pieces that need to be removed can be done so with tweezers. I prefer the following method to applying it dry and then dropping PVA solution onto it. |
 |
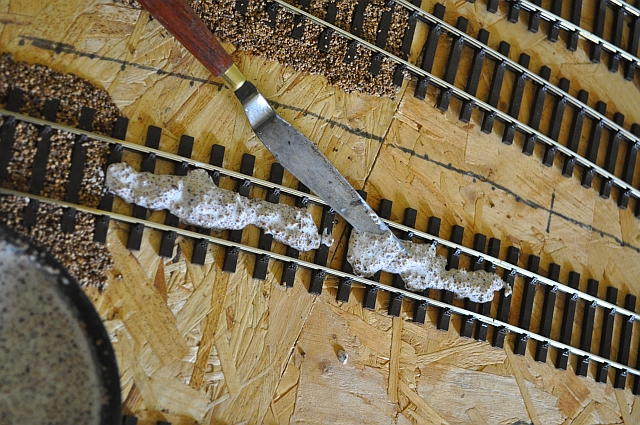 |
Using a large palette knife spread the ballast porridge onto the track. I make up about 6" at a time with the centre part done first then the two outside sections. Push and tamp the ballast carefully into the gaps between the sleepers and rails. Try to keep the inside of the rails especially free from this porridge. Otherwise you will see interesting effects of your rolling stock and locos derailing themselves and jumping the tracks when they hit lumps of ballast. |
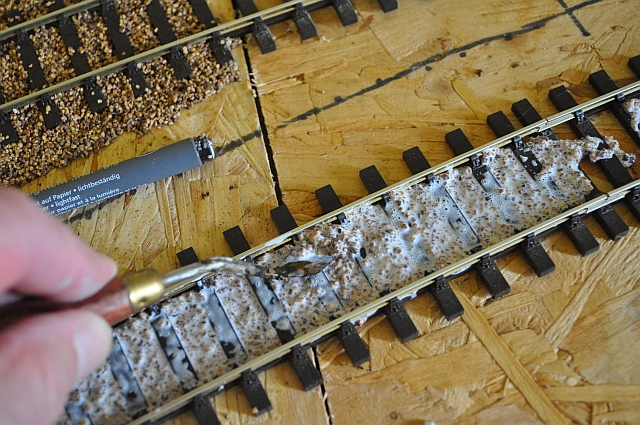
| Using the small palette knife push the porridge into the gaps between the sleepers. Don't worry if it looks a mess, this can all be tidied up afterwards. Lift any excess ballast out and put it further down the line. Work along the stretch and down the sides where the rail is fixed to the sleepers and make sure that ballast is not stuck on the insides of the rail to avoid derailments when in use. |
 |
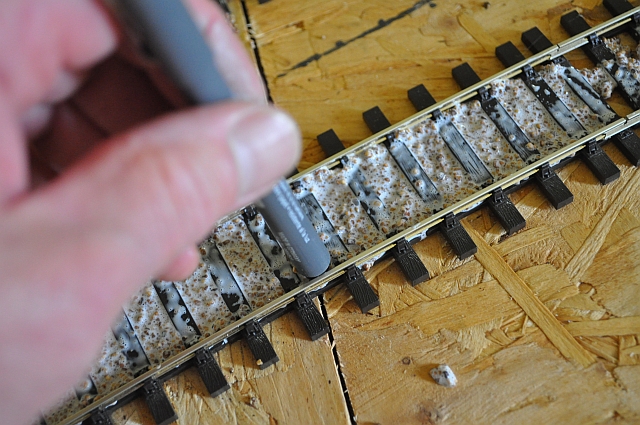 |
Finally, using something like the end of a felt tip pen tamp the ballast in place and make final adjustments. If the PVA is still left on the sleepers it will dry clear and not be noticed. |
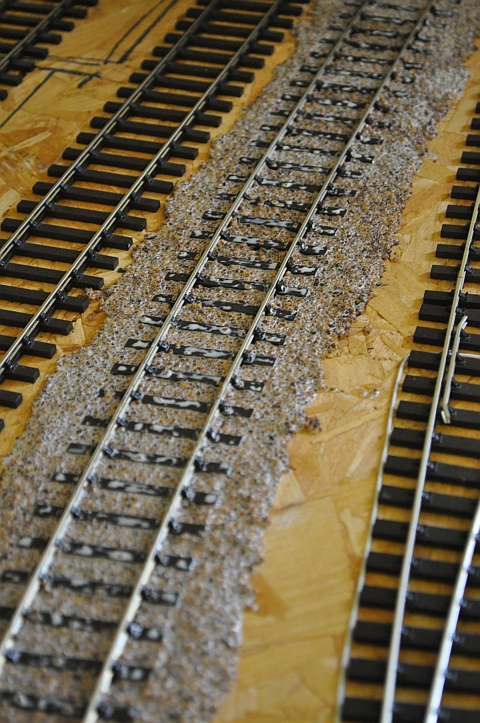
| Here is a section finished.
Usually one and a half bags will be sufficient to do a couple of metres
of track. Its not quick and points need extra care. Its backbreaking
work and after one section like this you will need a break and leave it
to dry over night. N.B. If at a later date you need to adjust or relay the track simply wet the ballast and allow it to soak up the water and then you can carefully lift the track clear it and the baseboard of the wet ballast and modify as you choose, (Just Like The Real Thing?) |
 |
 |
Once the track bed is dry you can add 'rusting' to the side of the rails. I use a light rust Railmatch colour slightly diluted so that it runs under the rails and onto the fishplates, shoes and ballast. Here I've also put grass in the middle of the track on a little used siding. The sootiness is also added by dry brushing along the ballasted sides of the track and at positions between the rails where a loco might 'wait'. This process can take a long time as you tend to do a bit leave it and then return to it to ad that clump of dry grass, some stones, and so on.... |