O Gauge Modelling on the GWR
A personal Journey
GWR Iron Cattle Van
This kit from WEP models comes in a plastic bag. The wheels are extra and i bought them from WEP, they are Haywood wheels.
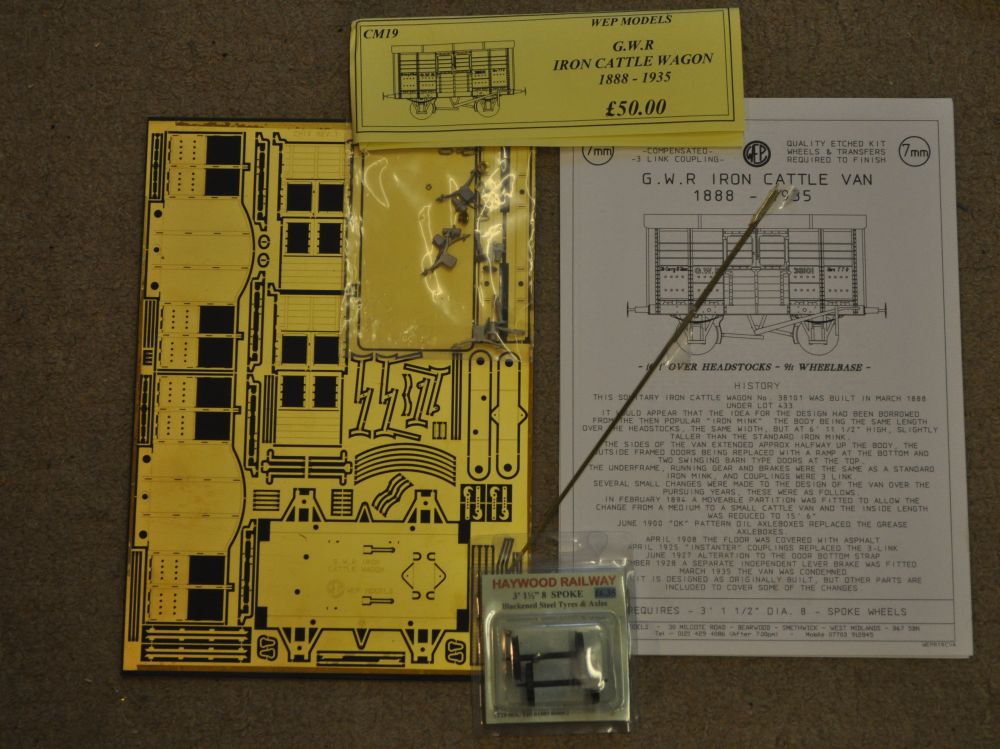
There is one large etch, a bag of bits, some rodding and several pages of clear instructions and diagrams to help in its construction. One thing to note, there are a lot of rivets to punch out so a riveting press is almost essential and best done before any folding of parts takes place. its best to rivet in sessions so as not to rush the process. Also riveting can sometimes be best done while the piece in question is still fixed in the etch.
First job is to rivet the sides and end pieces that come in two halves. the corners are rounded and a small piece of brass pipe comes in handy to help this along.
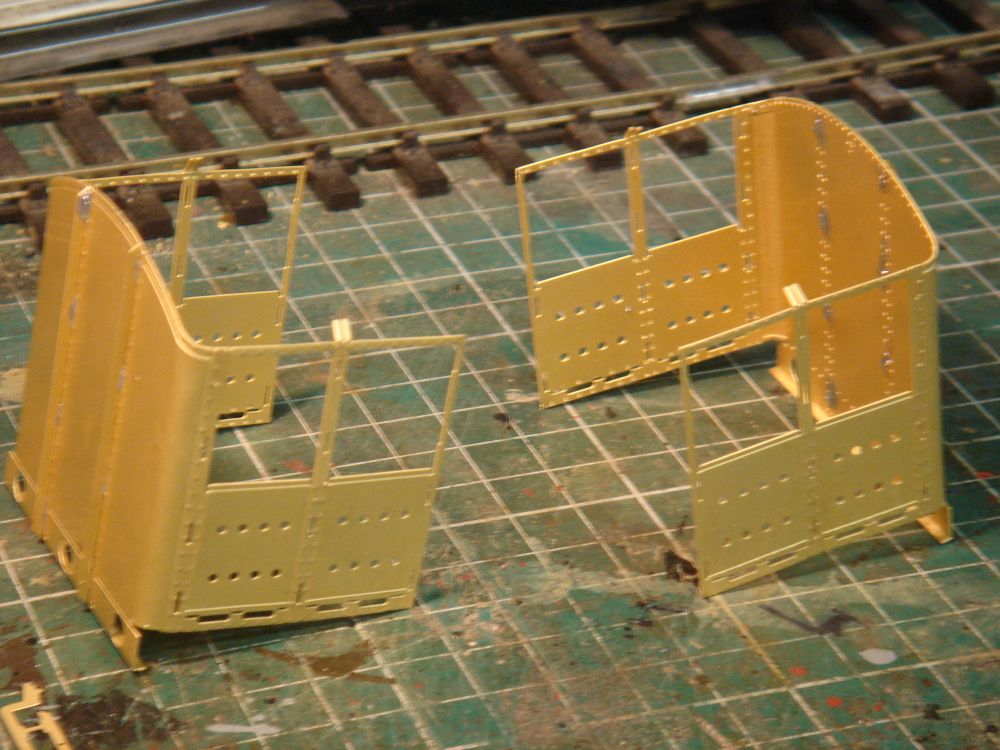
The end uprights are also soldered in place after widening out the slots in the ends.

The side uprights are a different size and come off the fret like this. The same applies to these and soldering from the inside ensures a clean joint.
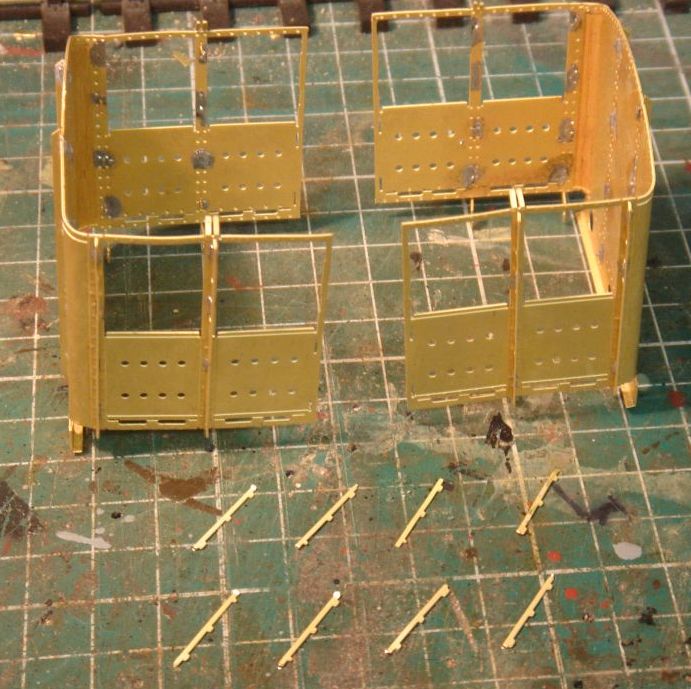
The uprights 8 in number for each side are carefully soldered in place. here i have the small uprights, (although they fit horizontally), ready for soldering along the bottom of the sides. There are tab holes ready to aid fitting.
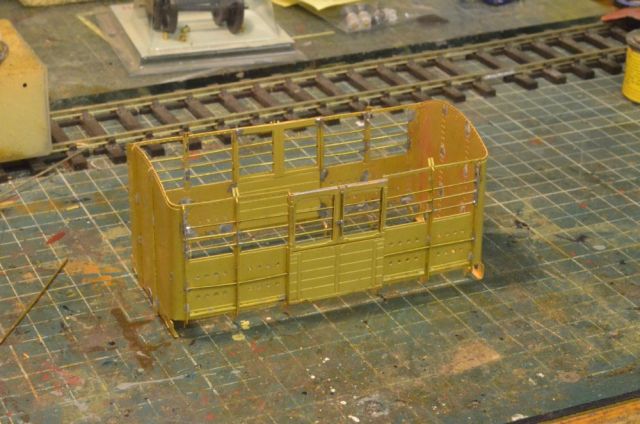
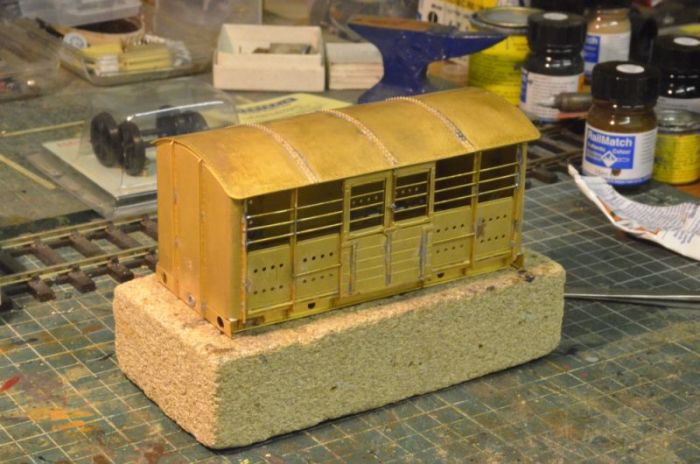
Its been sometime since I've added anything here as my camera was given up in part exchange for a newer model. But here we are back again. I have now completed the body of the wagon. the central doors that join the two halves together are double skinned. This requires a bit of careful soldering and bending to get it all right. Then the bars pass through the struts and door frames and must be lined up properly. Some of the uprights do not have holes for the bars and these go at the ends. After some issues and having to replace an element in one of my soldering irons its about right. There wasn't enough rod in the kit to make all the bars and I found that splitting some of the bars made fitting a lot easier.
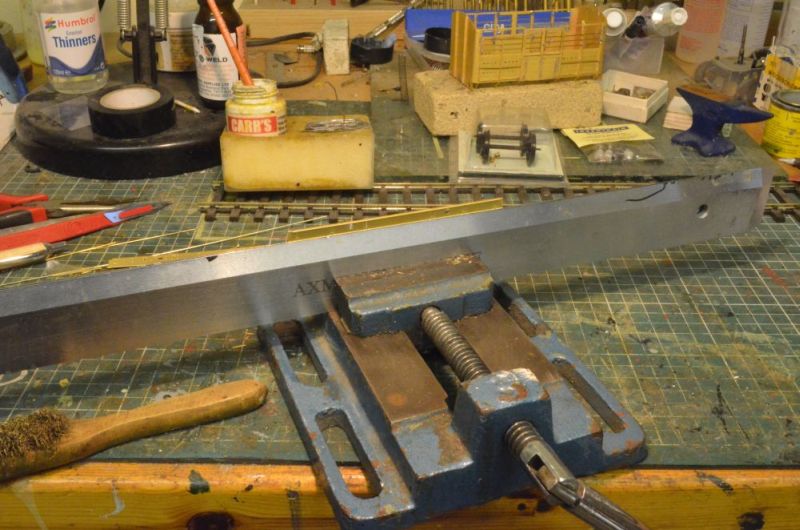
The solebars require riveting and then bending. As they are quite long this is how I do it. i have two long bars that fit into an old hand vice. the jaws are tight and accurate and the bars have a bed to lie on. Here a solebar is lined up ready to be bent. This is done with the hands and then finished with the wooden handle of a brush as shown below.
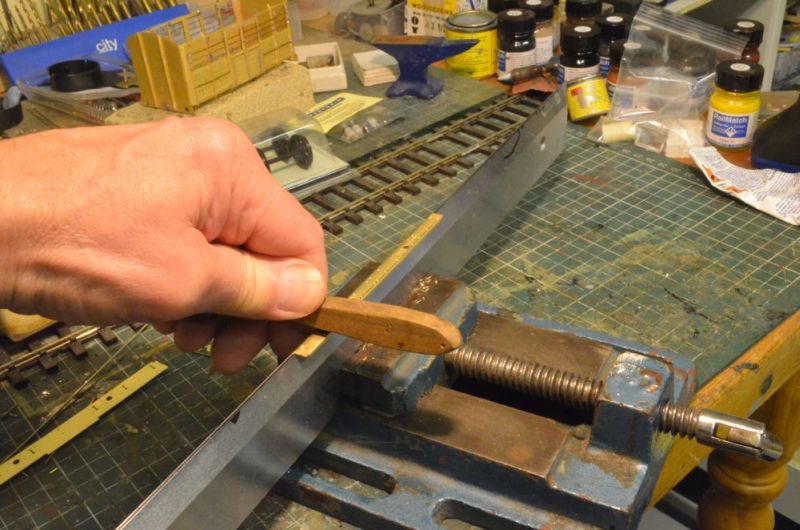
Rubbing the handle along the bend to make sure it is straight and at 90'
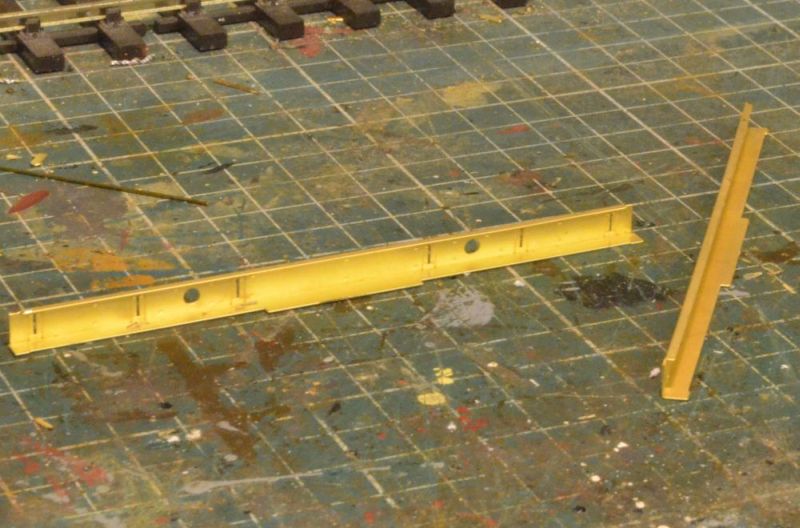
Here are the finished solebars.
And here they are fixed to the body and squared up ready for the chassis.
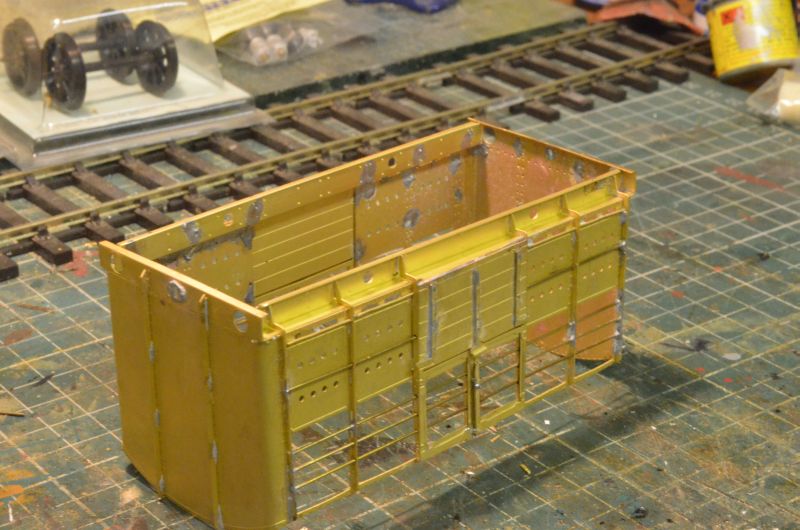
I've also corrected the lower bars so that they line up with the side irons better and removed the ones I put right across as they only covered the sections next to the doors, (see below).
The roof has been bent, roof bars fixed on the underside and rivet strips soldered on the outside. the whole roof was then soldered to the van body. Re bending the roof. its always a good bet to anneal the roof first as this makes it easier to bend and less likely to end up with 'creases' . I use a nylon roller on a double thickness of fur fabric to give the flexibility needed to shape the roof to the correct curve.
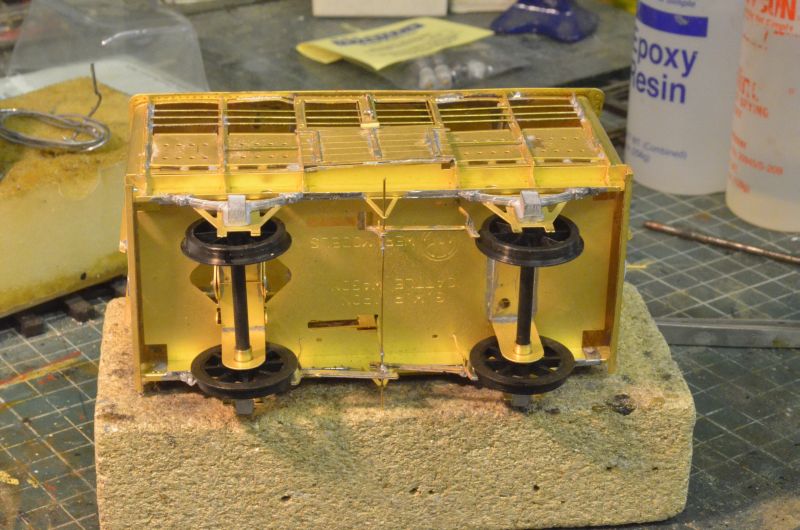
The chassis is an easy build with two bends along its sides, the various support brackets bent up at 90' and then the wheel braces soldered into place after the wheels have been fitted. This requires the axles to be modified slightly as large bearings are used in the compensated bracket and the other wheel bracket. The chassis is then soldered into place. It fits snugly into the bottom of the van. The axle boxes are glued into place and the brake assembly is finished off with brake handles.
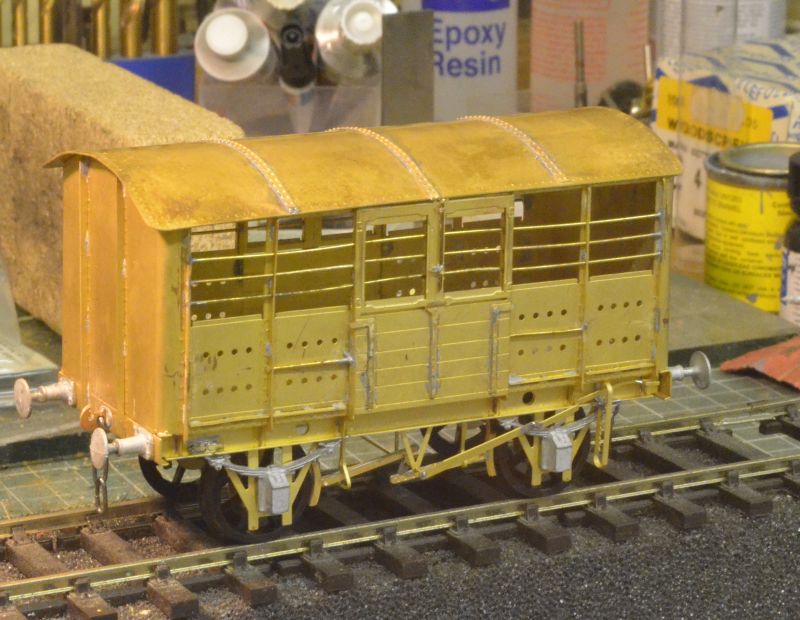
With the buffers in place and three link coupling finished its now ready for painting.
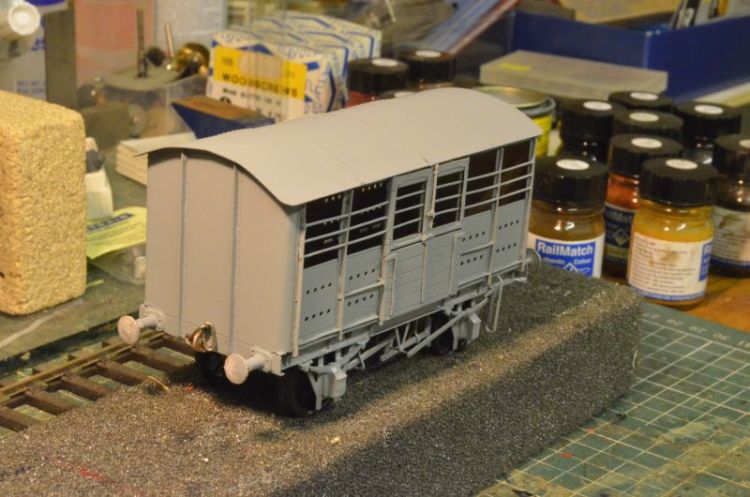
The van now has its base coat of grey. I'm not surprised the GWR made only one of these. As an experiment it was surely insane. A completely metal van to carry livestock. Imagine how that would have been on a hot summers day!!
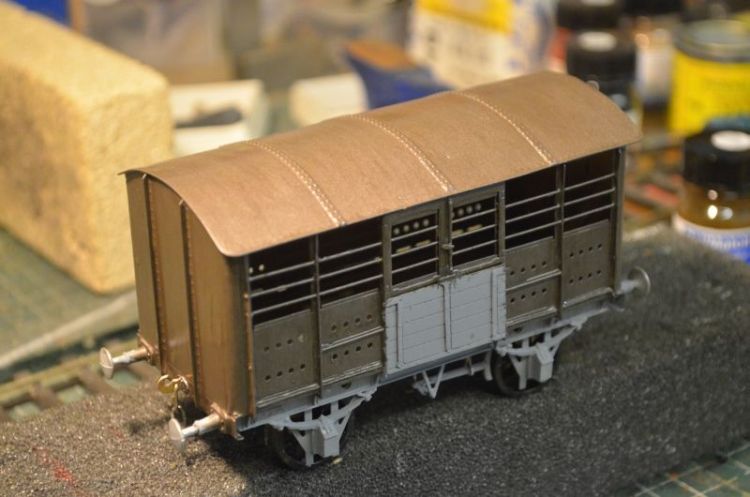
The next coat is a Railmatch Oily steel.
Pictures of this van do not exist and models seem to be interpreted by the maker so i have done the same. The lower centre panels are made of wood. The solebars and wheels and brake arrangement I have painted matt black. The transfers I have made up from old wagon transfer papers as best as I could and this is the result;
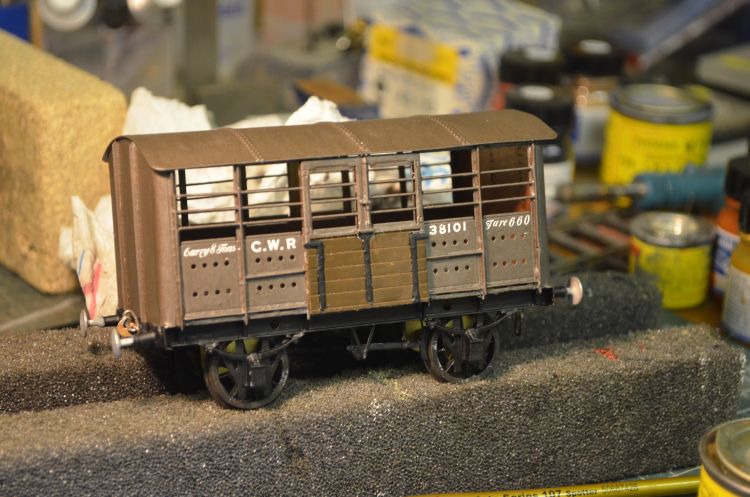
The last job will be to give it some weathering.

Here it is weathered and working on the railway.