O Gauge Modelling on the GWR
A personal Journey
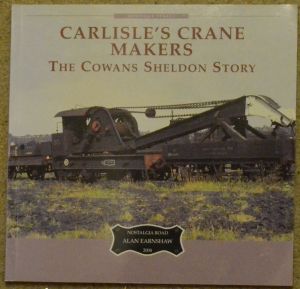
Cowans Sheldon Crane
There isn't a model that you can't make from Meccano and here is the proof yet again:
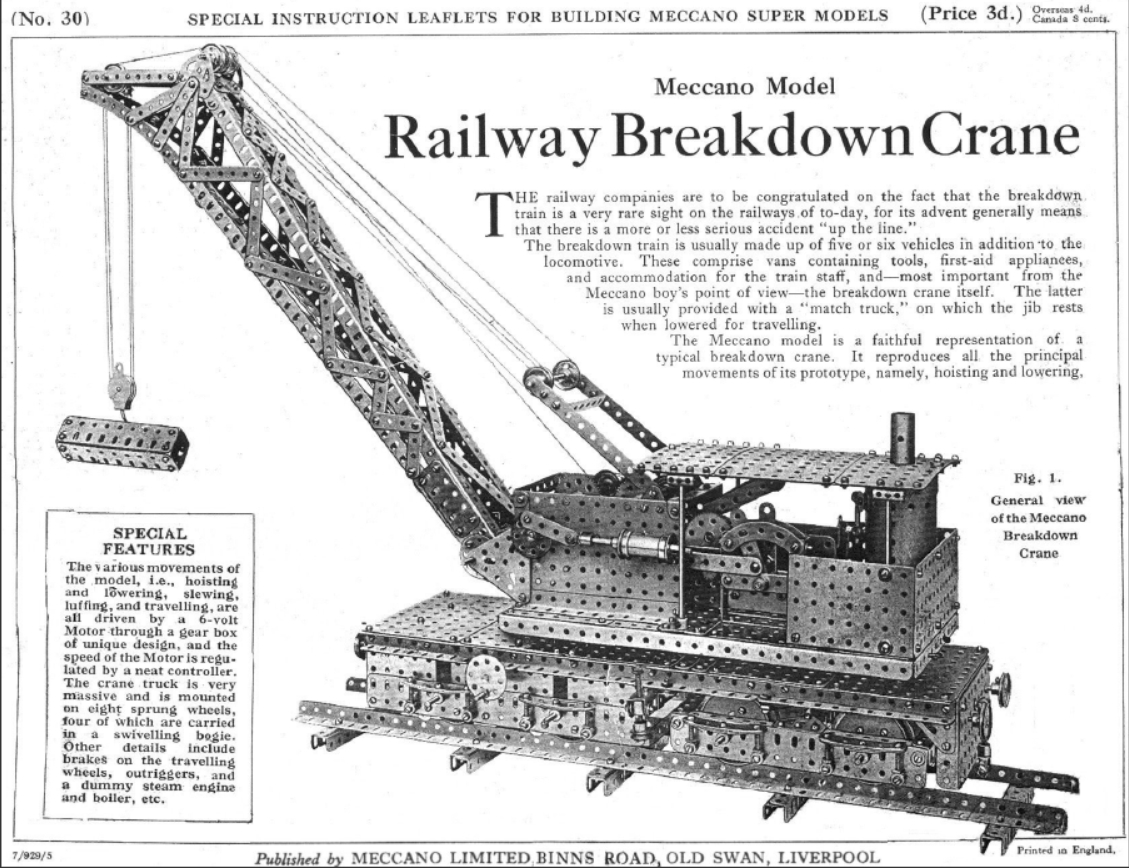
If you click on the above picture you can download the complete instructions for building it. No easy feat. But it shows the level to which the old nut and bolt technology could get to!
Here is the kit I bought from D & S Models to build a MK1 or Mk2 type breakdown crane. I intend to make this a working crane eventually.
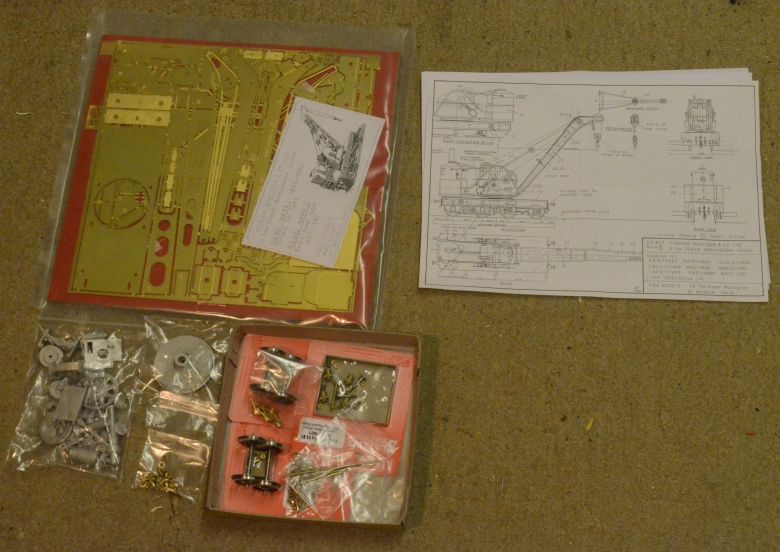
As all cranes had a match truck to support their jib and provide storage for tools and the like, I have been investigating which design would be appropriate for this version of the crane.
Getting facts straight is not always easy, but
here I try to get a true picture of what the GWR did with the three
15T cranes they purchased.
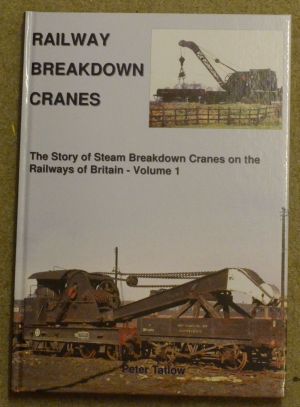
The following is a rewritten extract from Peter
Tatlows Book:
It was the 20th Century before the
GWR acquired any steam-driven breakdown cranes. They made a
tentative start in 1900 with one 15 ton crane from Cowans Sheldon
numbered No1. Two more were ordered the following year
numbered 6 and 7. No 1 was
renumbered no 8.
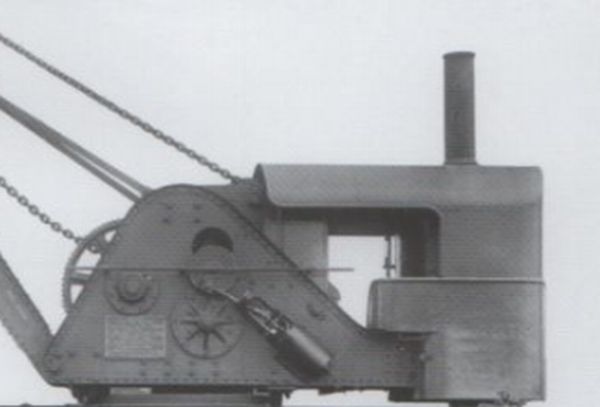
The three cranes of this size supplied to the
GWR had the shorter jib and travelling gear. A combined enclosure to
the boiler was added to give cover for the driver as shown here:
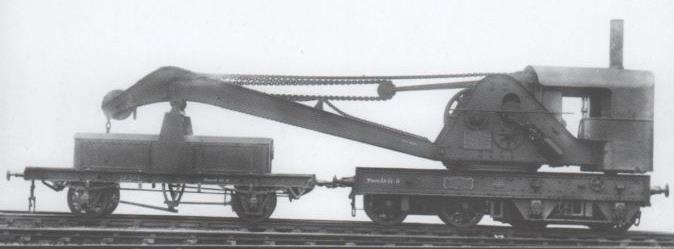
Crane No 1 later No 8
Cranes Nos 1 and 6 had 22ft 6ins long match
trucks to diagram L4 and No 8 had a 19ft 6ins one to diagram L15.
Brassmasters make truck L4 but only in 4mm scale.
I'm currently investigating how this can be used to create a 7mm version.
I've managed to redraw the match truck from drawings of larger match trucks. Here it is, (click on the image for a larger view):
The correct match truck is on file at the NRM, York and I have been able to track it down. the details are as follows:
Swindon Drawing ID: 2232
Roll No: 119
Drawing No:19327
Title: Match wagon for No1 Steam Crane
Some confusion exists around the re numbering of the crane No1 to No 8 and the correct length of match truck.
The drawings are now on order and should arrive in the next few weeks. Hopefully, it will contain enough information to have an etch made of it ready for building into a 7mm model.
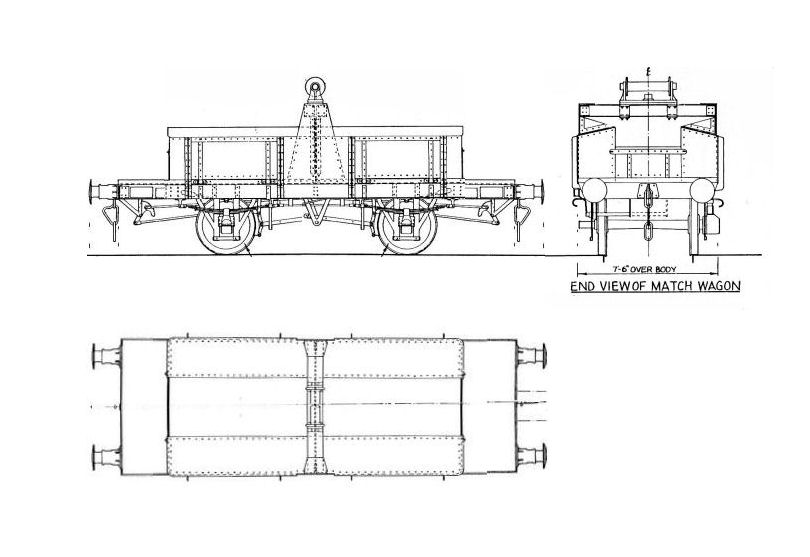
Here is the drawing from the NRM of the match truck.
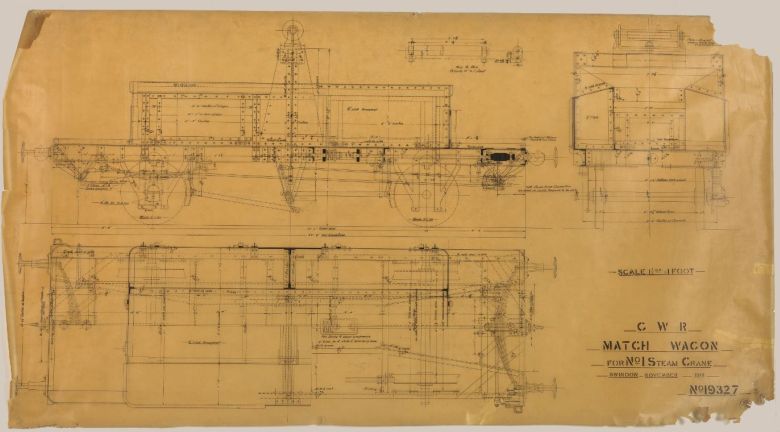
As warned by NRM you can see its in rather a delicate condition but has copied rather well. Cost around £50 for the file and an A3 paper copy. I've passed it onto an etcher in the hope that an etch can be made of it, (I live in hope!).
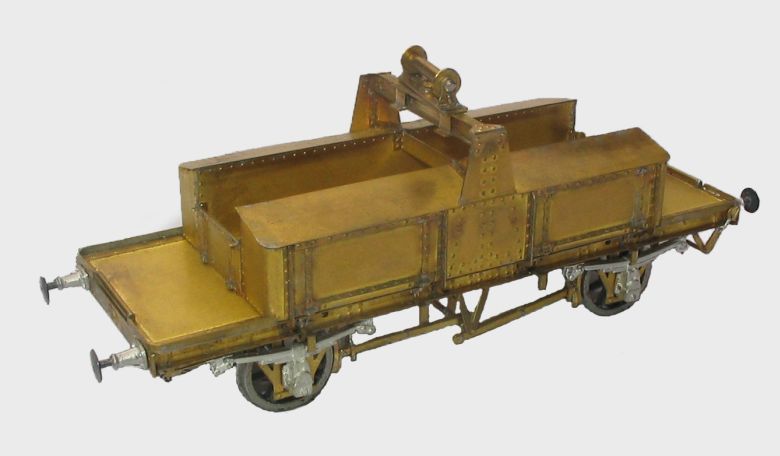
18 months down the line and no further so I decided to take matters into my own hand.
I purchased two brass truck kits late of WEP models, (the gunpowder wagon and the fruit wagon). Taking parts of both kits I hope to make up the match truck.
First off the fruit wagon has an overall length of 22ft and a wheelbase of 12ft 6" and splitting it and adding in a spacer will make it the right length as shown here:
click any image for a larger view
The gunpowder wagon will provide the toolbox fittings.
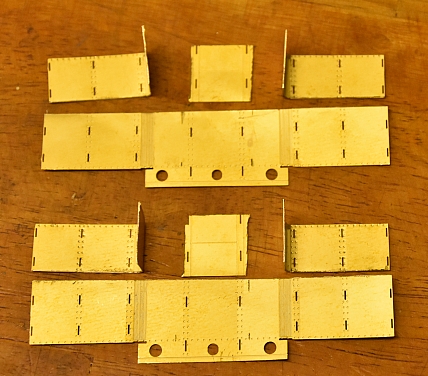
Based on the drawings the gunpowder wagon it is cut in half along the two lengths and a centre piece removed to allow for the body to be made up. As shown above; the bottom lengths are not required.

One of the most useful tools I have for making up is the 7mm ruler above. It is an EXPO Modelmakers Scale Rule at 7mm to the foot!
The length of the tool boxes is 11' 10" which means that a gap of 1' 4" needs to be plugged to get the right length. So I cut two small plates of the right height and width to fill them as shown here;
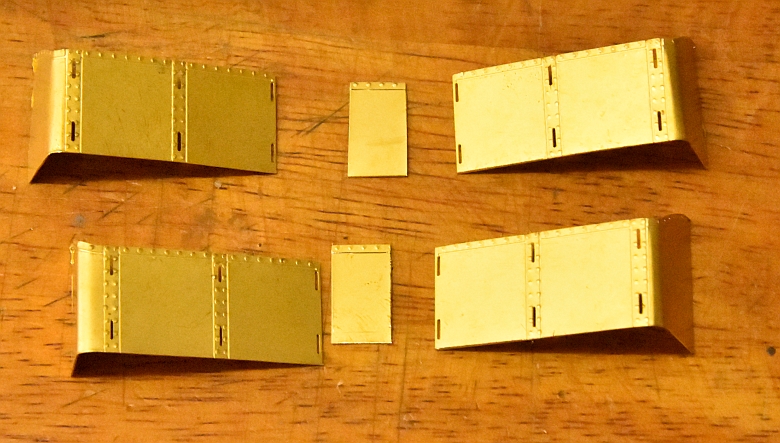
Next taking the gunpowder wagon roof I cut two slices from it for roofs for the boxes:
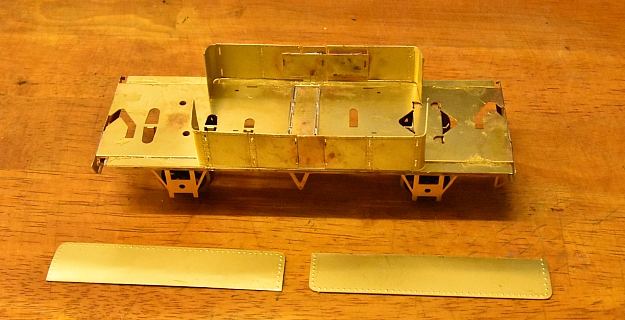
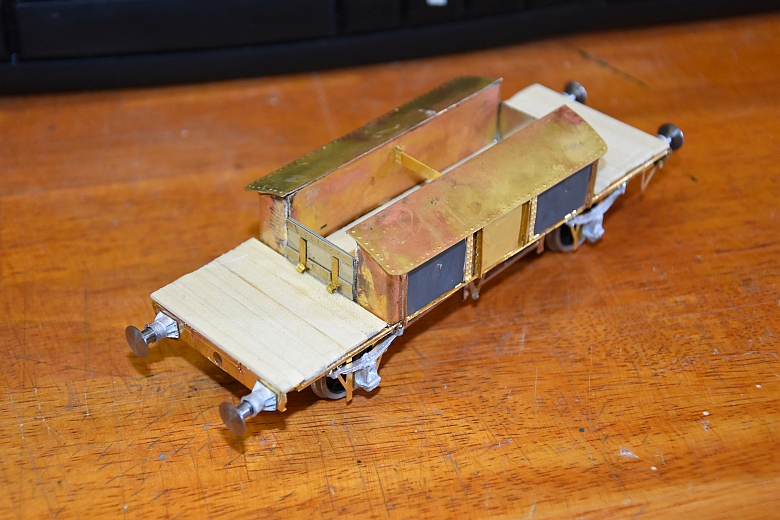
Here are thetoolbox sides placed but not soldered in place.
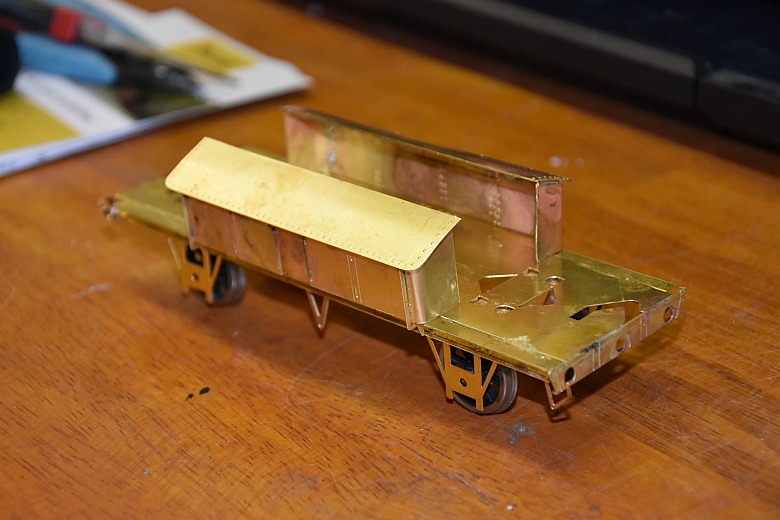
I now have the backs to the toolboxes and these are secured but the two toolboxes themselves have yet to be fixed to the chassis.
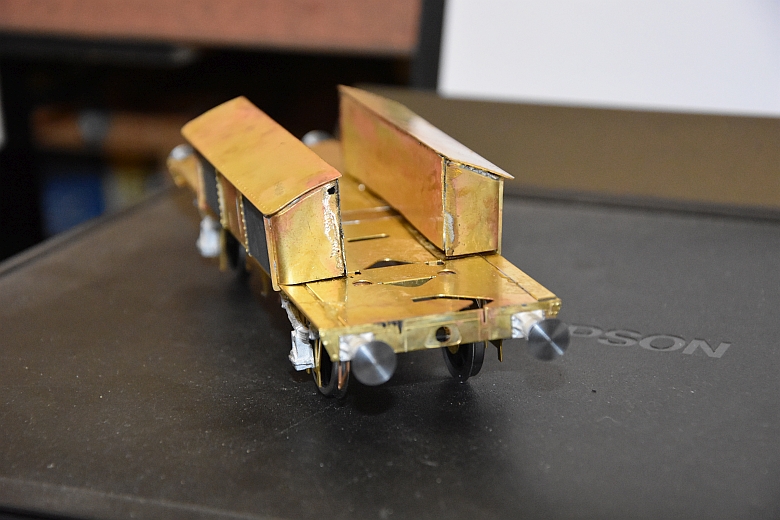
End view, the buffers were added at this stage.
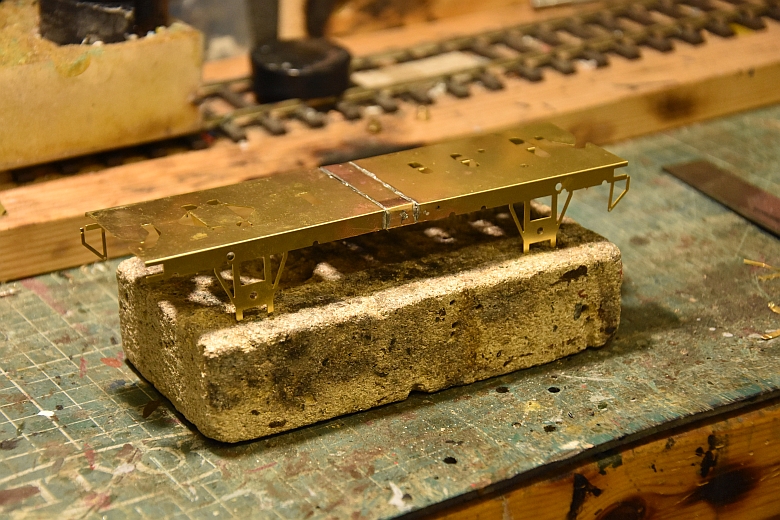
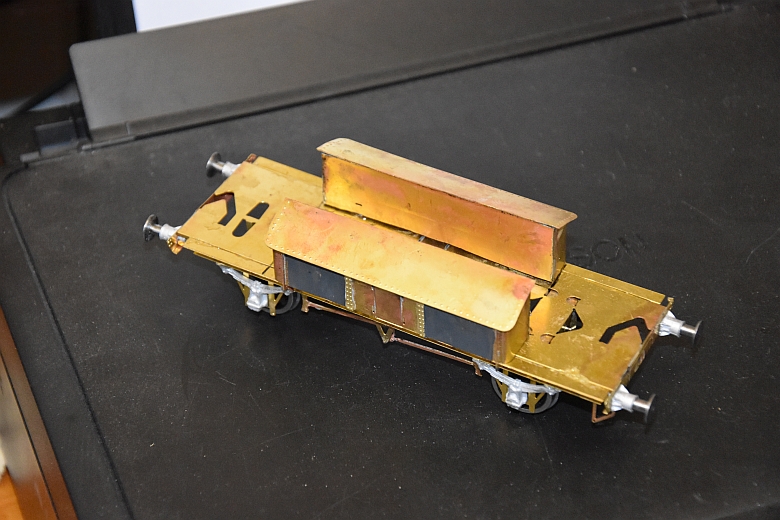
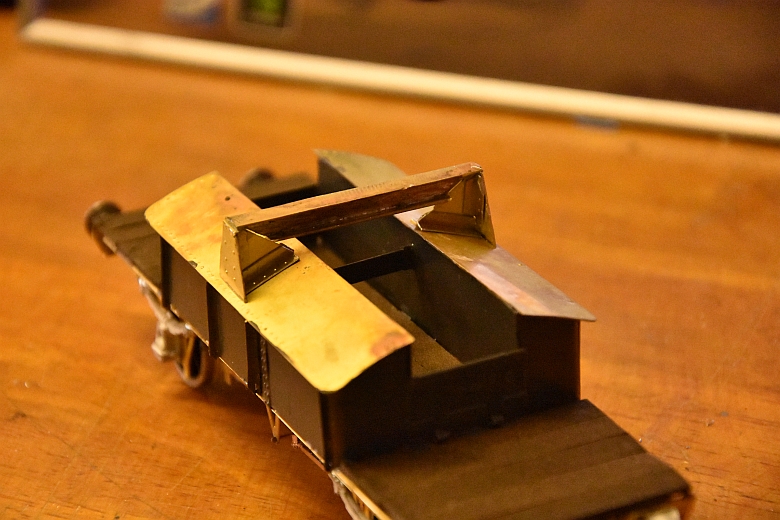
The tool boxes have been glued in place the end doors built and glued in place and the strengthening spar made up and glued in place as show here.
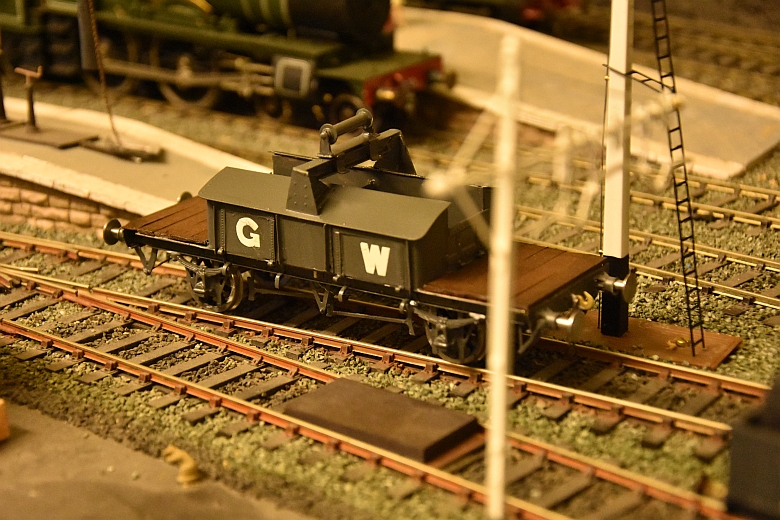
I have added a wooden floor, (not prototypical but it hides the chassis structure nicely). Some match trucks had wood added.
The wood has been painted brown and the sides grey undercoat. The next part is to build the cross member. This was done using bits and pieces from the offcuts box. Taking measurements from the drawings above.
The roller was made up from several diameters of brass tube and washers. Its frame again from offcuts and old brackets left over from other kits.
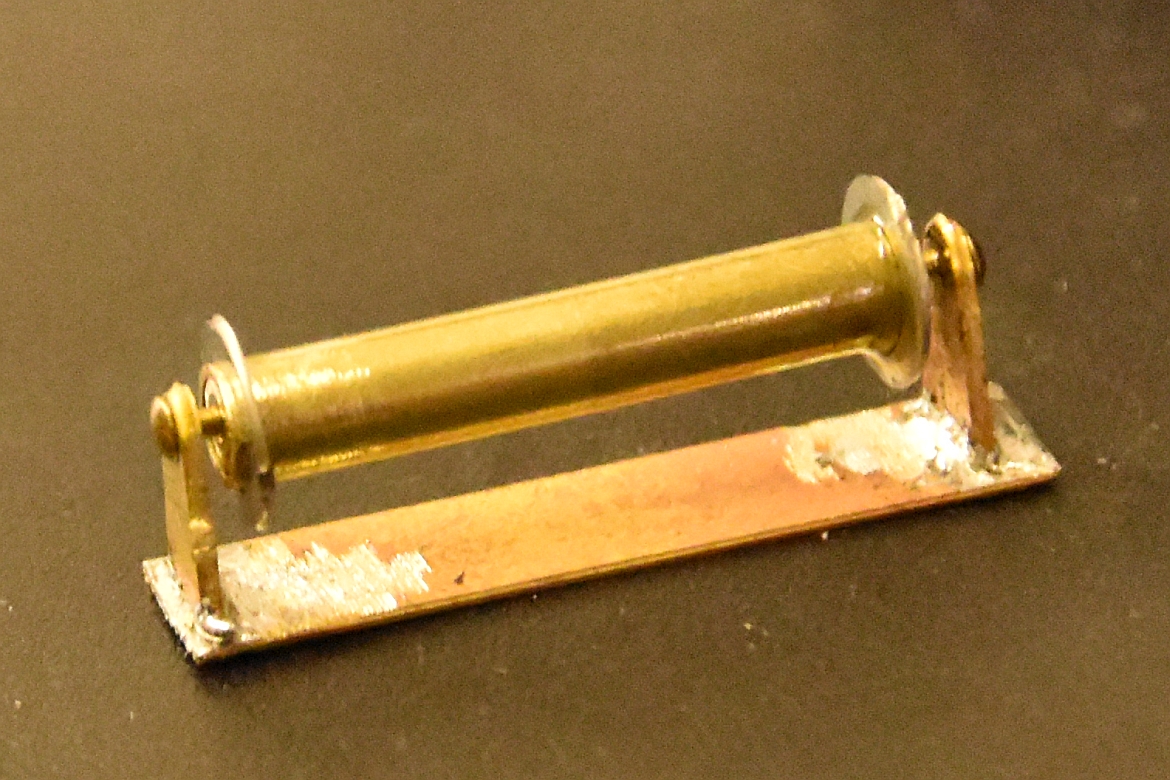
The roller will be secured to the cross member using two brackets made up from strip brass. as shown below.

Here it is with the etch base applied to the toolbox lids.
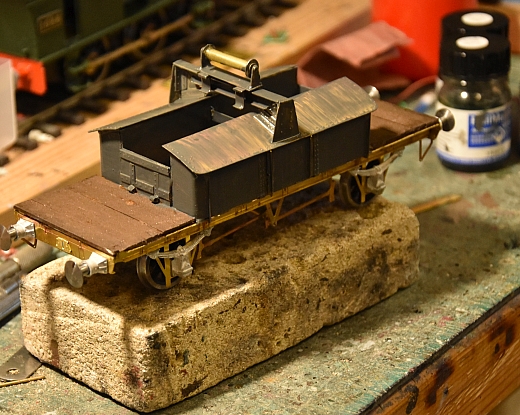
Next the coupling hooks are to be fitted and finally the transfers after a final coat of GWR Grey.
 .
.
This truck has been essentially scratch built from drawings. There are variations of length and makeup of the trucks depending what photos you get to see.
Essential Booklist