O Gauge Modelling on the GWR
A personal Journey
Cattle Pens
This is a Skytrex model and I have already built one at the other end of the layout.
Starting off you need to cut the posts and bars the correct lengths.
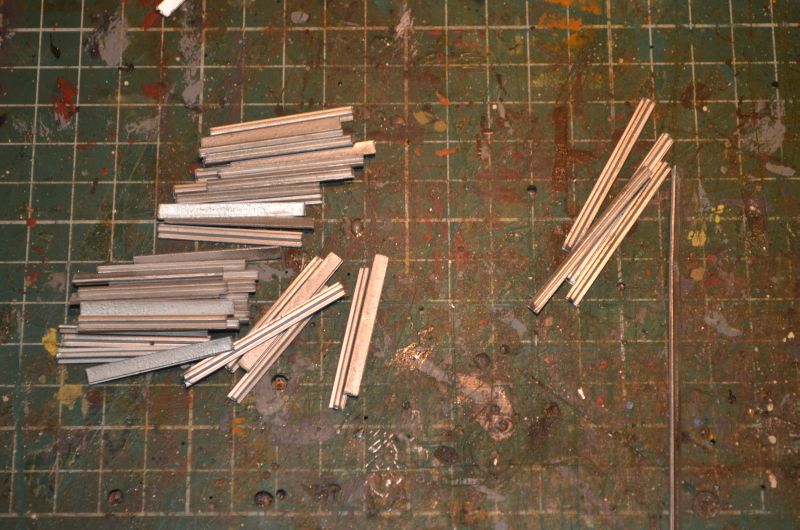
Although you can cut all the posts to the correct length, the bars are best measured against the bases especially if you decide to work like me using the platform plinth to frame the bases in. As this means a slight move away from the instructions.
So as follows measure the bars according to the front of the bases.
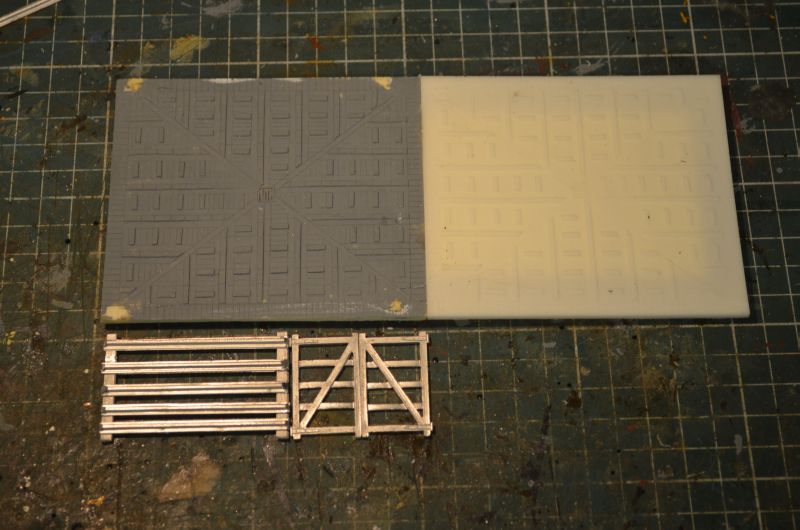
The double gates will take up about just less than half the base width as shown here. Once all the pieces are correctly positioned they can be glued with epoxy into place.
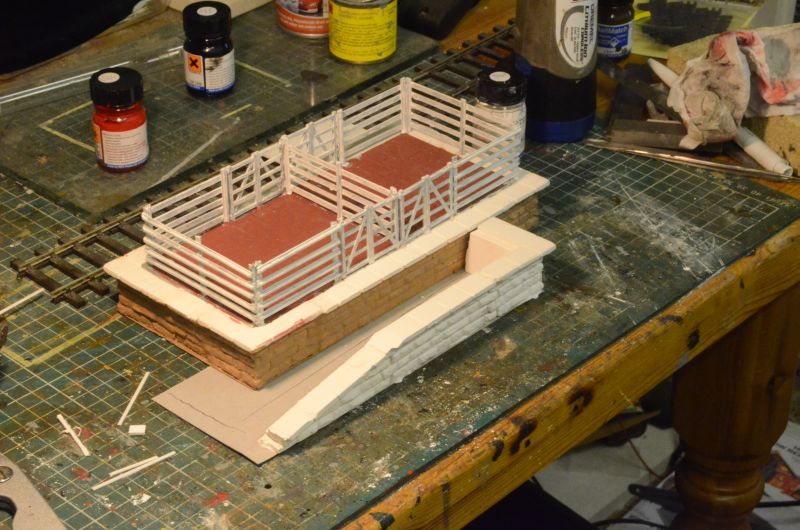
The short fences and gates will fit lengthwise. Here they are all constructed and hardening off. The width bars have been cut and the first three-post fence is tried out before gluing. The instructions suggest chamfering the posts so they fit down the sides of the base but mine will sit on top.
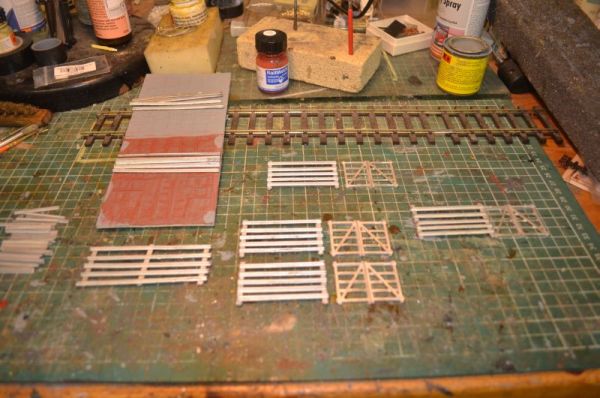
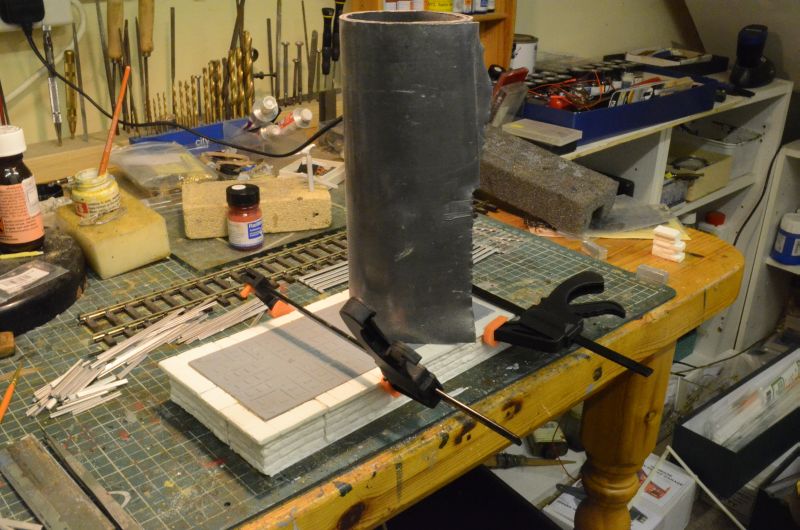
Before proceeding further with the fencing. I decided to construct the base. Using the platform edging and the bases provided by the skytrex kit I built it on a thin cardboard base. using PVA neat to stick the plaster edges to the cardboard base and Bostik to fix the epoxy base to the edges all held in place with a couple of grips and a lead roll as shown here.
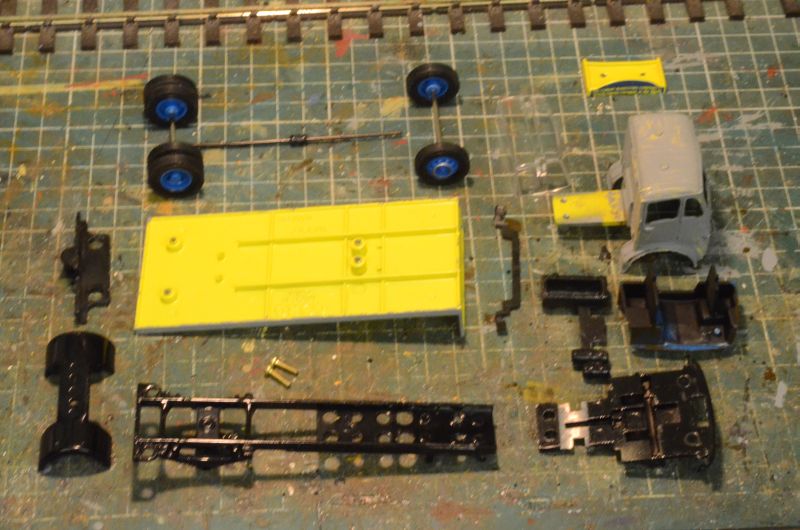
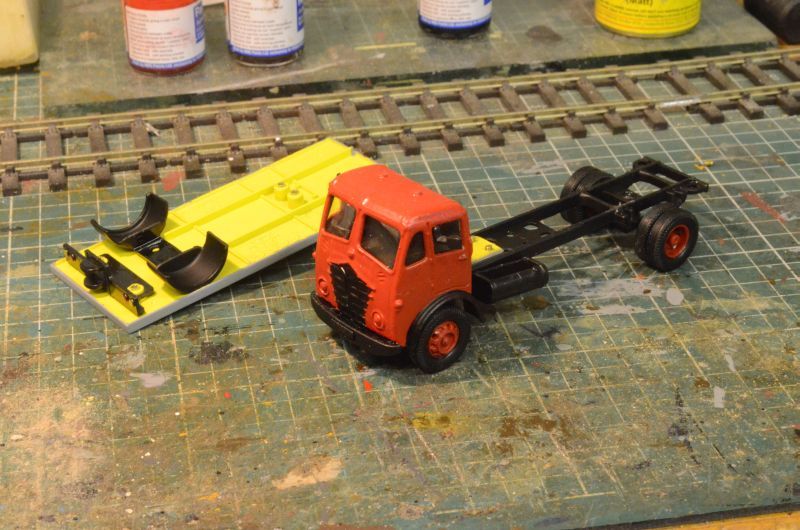
The other component part is the cattle wagon. I have obtained a Corgi Classics Foden 4 wheeled rigid truck i can convert. here it is:
First job is to take it apart. Almost all of the bits come away easily as they are held together by 4 tiny screws. But the front chassis is held onto the main chassis by two rivets which have to be drilled out. I will replace these with 2 bolts after tapping out the rivets. here is the deconstructed wagon
And here are the rivets drilled out and tapped;
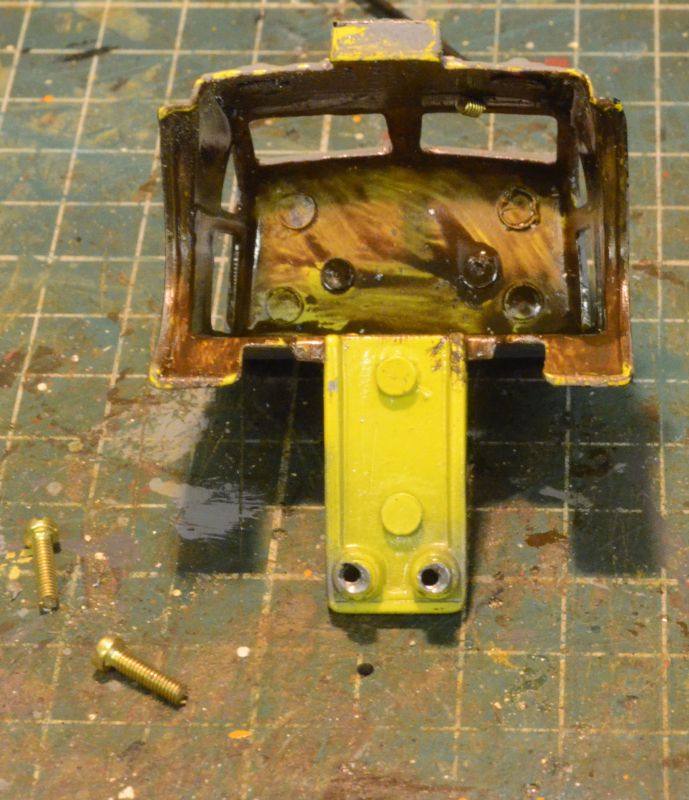
You will notice have removed the name board from the roof of the cab. its a simple rivet fixing that can be prised out or drilled. Also the transfers have been removed and the cab painted outside and indide with a primer. The body now needs constructing and scaled up to fit the rigid deck.
But finishing off the detail on the chassis and interior its now time to fit it back together.
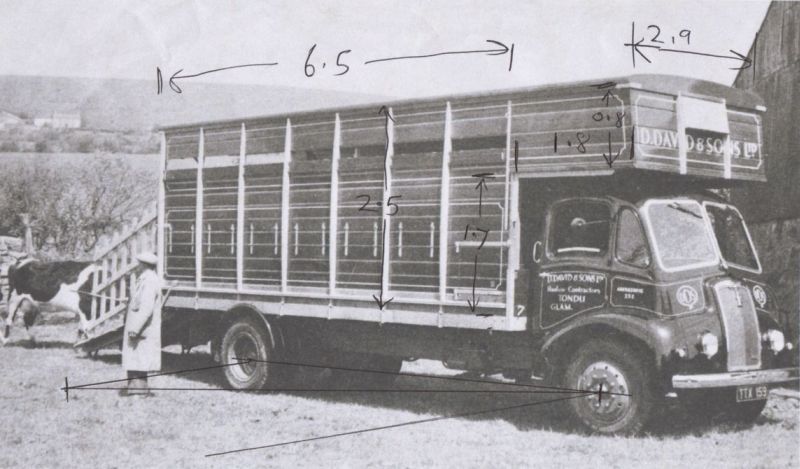
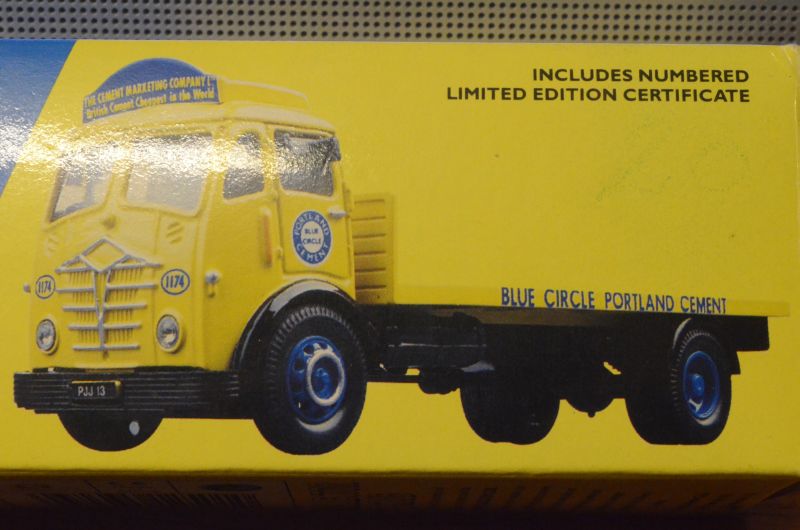
This is the original I will create the body from, (the numbers indicate the 00 gauge version!).
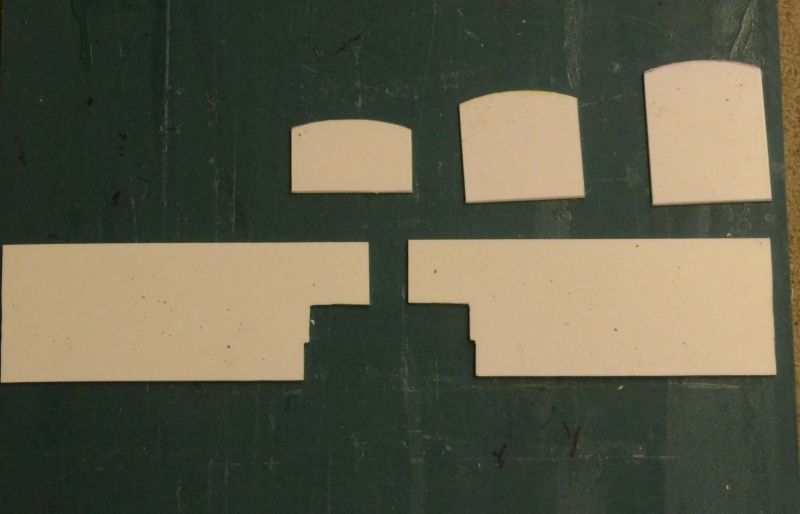
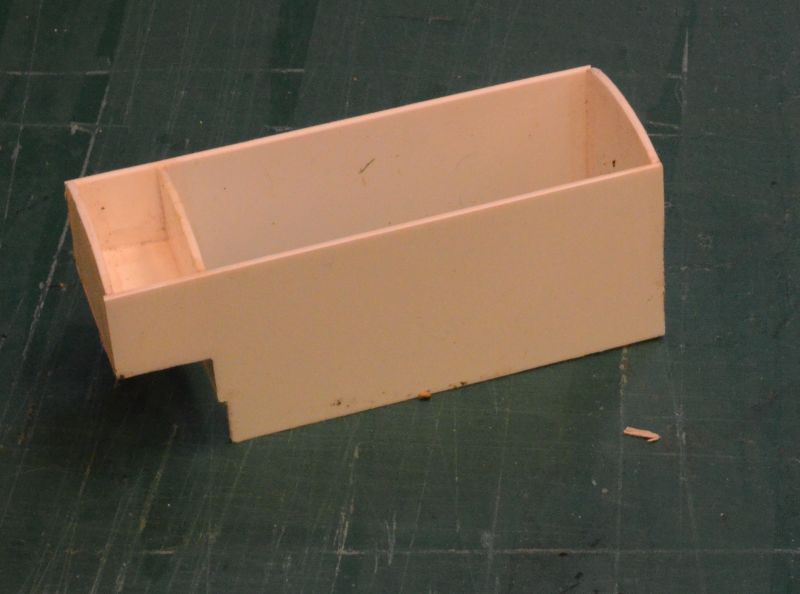
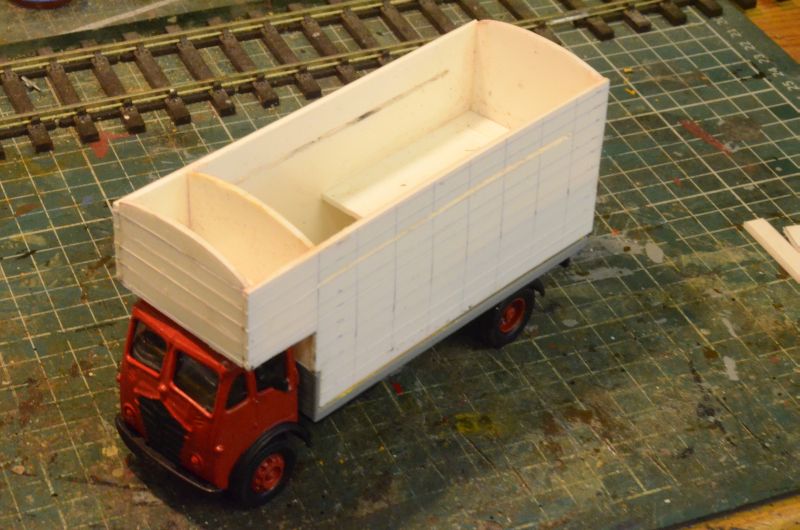
Using Slaters Plasticard 80 thou, I cut out the main sides and ends of the cattle body. These will be glued together to form the basic shape of the body.
Once the main parts are stuck together the detailing of the body can begin.
Adding in a reinforcement section and drawing and then scribing the planks on all four sides. I put 6 cuts in each one to give an impression of planking on the body. There is also a ventilation slot 3 planks down from the top on each side which I cut using my trusty Dremel.
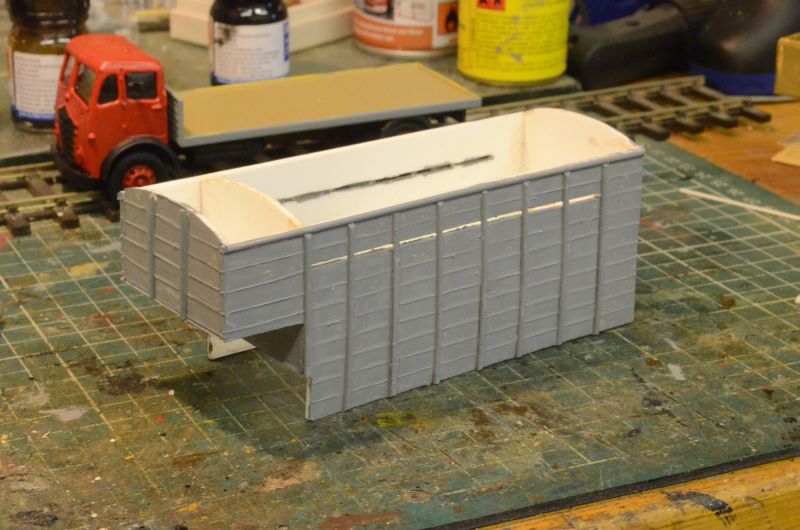
Fitting the vertical straps I used half round plastic rod 2mm from LTM. It was then given an undercoat of LMS grey.
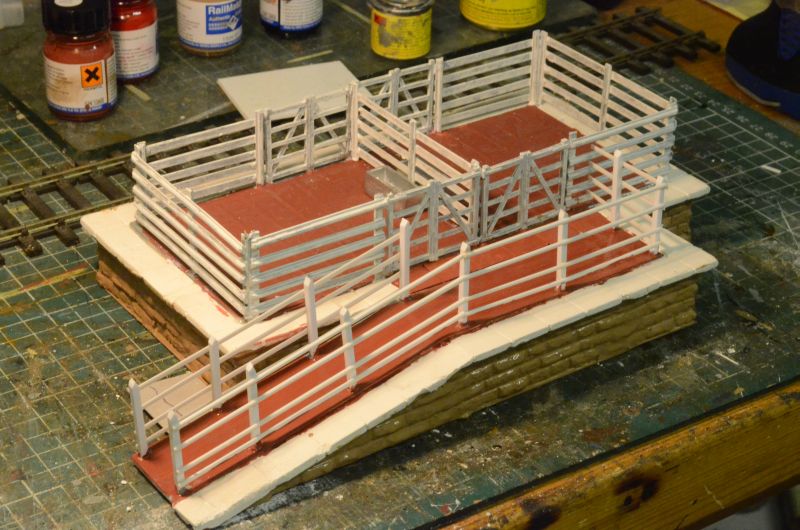
Back to the pens. the fencing is now in place and hardening off.
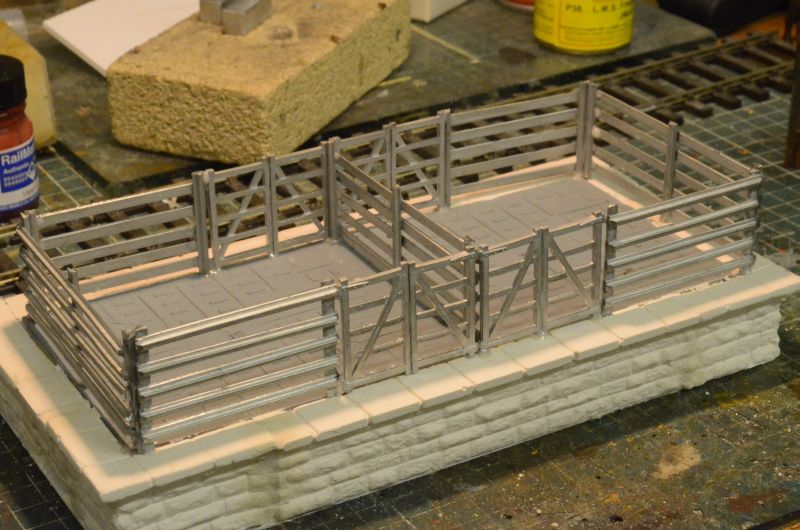
It just remains to paint the structure.
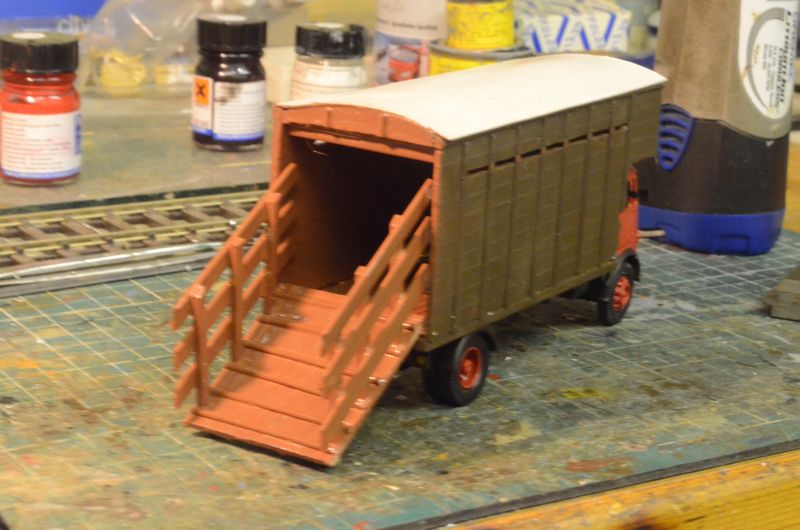
Now with the body of the truck completed in brown and the fencing painted white the arrangement looks like this
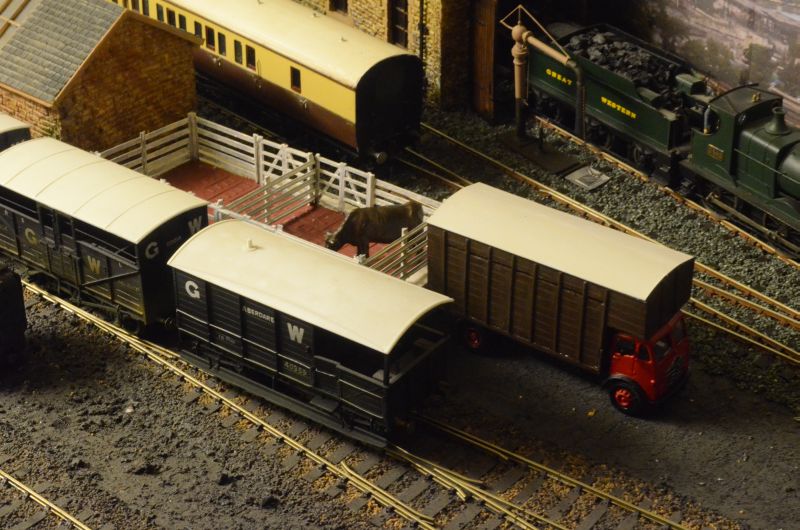
BUT, after some thought i decided to modify the rear of the cattle truck. After all how were the cattle to exit the truck and get into the pens? Well the first thing to do was to change the rear of the truck so that the rear face came down as a ramp with fencing along its edges. Here is the result still wet! I used LTM plastic rectangular rod, (1.5 x 5 mm) for the horizontals and Plastruct 2.5mm square rod for the posts.
Now for the pens themselves. i will need to construct a way to get cattle into the pens so a simple ramp would be the answer. here is the beginnings of one.
I will keep it separate so that adjustments can be made to sighting, as the place I've chosen for it is restricted in width. The ramp will need slightly extending to finish off on the ground and a floor and fencing is to be constructed out of Plastruct 2.5mm square rod for the posts and 2mm half round rod for the bars as can be seen here:
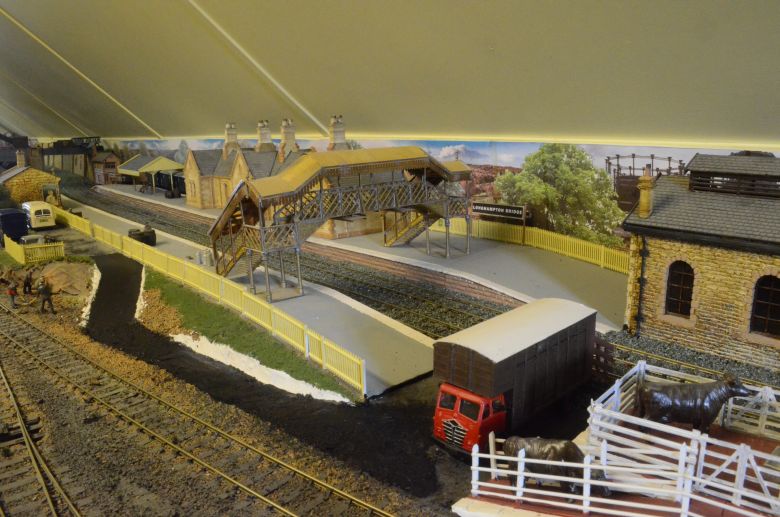
The width of the cattle pens now with the ramp is obviously greater than before and so the goods shed has had to be resited. Here is the cattle pen insitu.
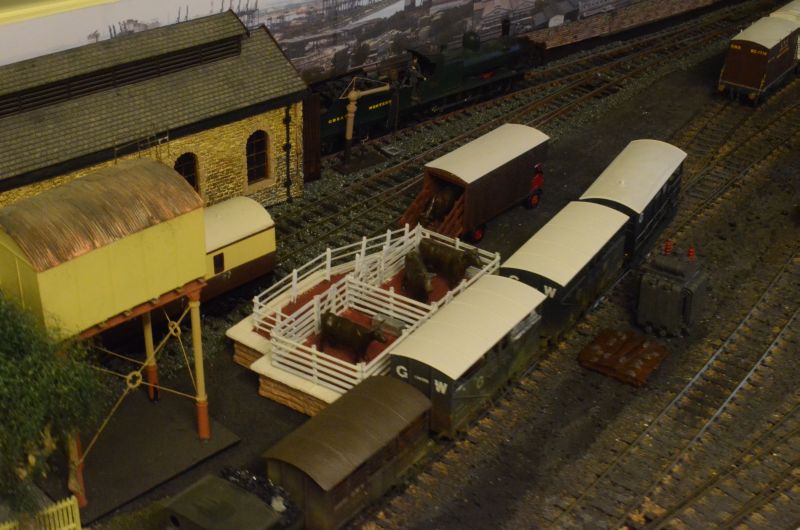
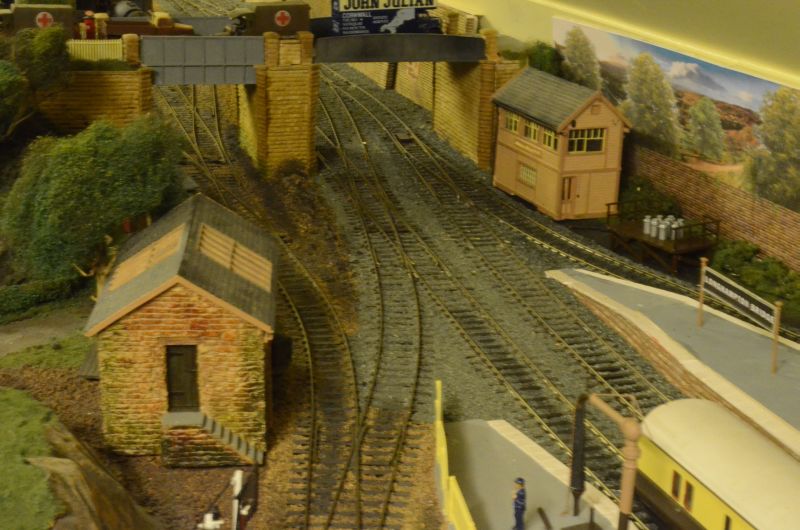
This is what i decided to do with the small goods shed. it meant moving the signal box across the main approach but in retrospect looks more at home there. The goods shed also has a better home serving both the junction to the main and the industrial spur.
There was also the issue of access to the cattle pens and this would mean extending the station road and cutting through existing scenery. This is the result: