O Gauge Modelling on the GWR
A personal Journey
Coaling Stage Building
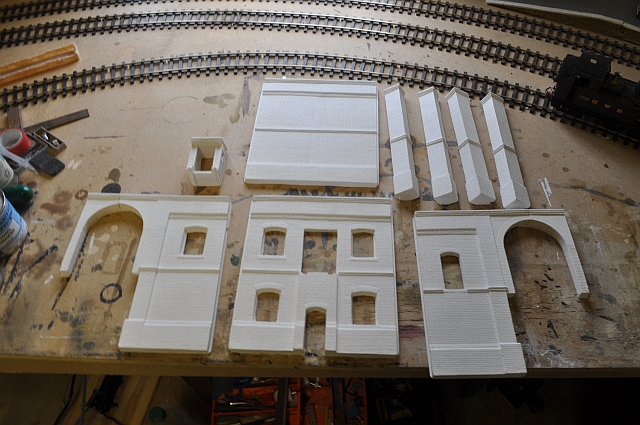
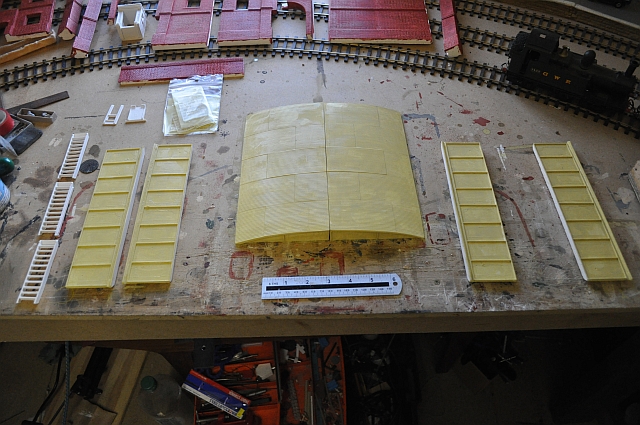
So the kit of parts arrived today well wrapped and protected in a large box. Nothing broken - even though its made of plaster. But this picture shows the main parts laid out ready for painting before gluing together. Townstreet go to the trouble of suggesting painting technique which is very helpful.
So I have made a 'wash' of three colours to form the basic brick colour. I used Indian Red, Light Rust and China Red (all Railmatch enamels), and thinners to make a thick wash.
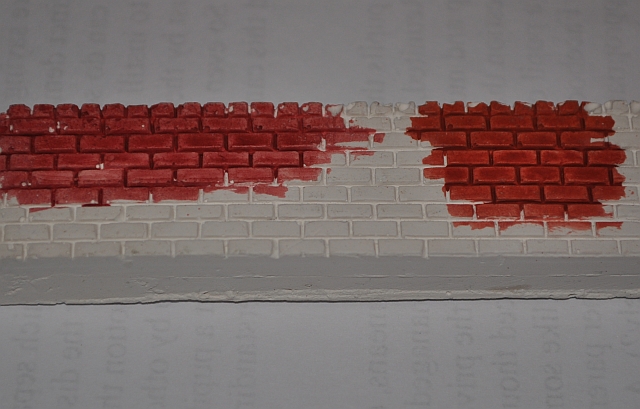
The right combination is on the right as shown here - a kind of orangey red.
So what is it replacing?
I made up a model previously using card and brick papers.
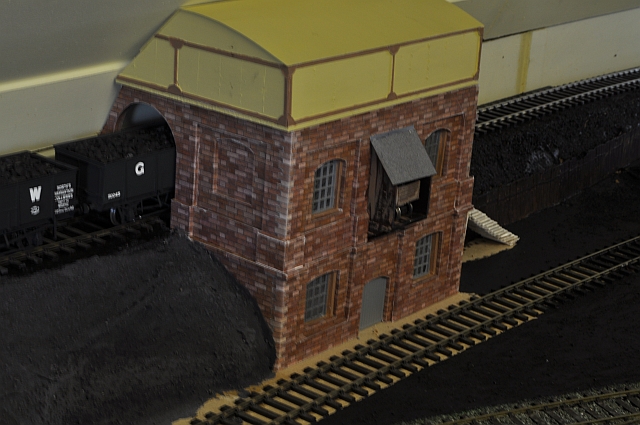
But the result as you can see here was less than acceptable. I don't like the 'Blue Peter' brick paper as its affected by change of temperature and unsticks itself. Also it looks just like what it is and is out of place with the rest off my buildings so it was great to have Townstreet produce a model and that's what its going to replace.
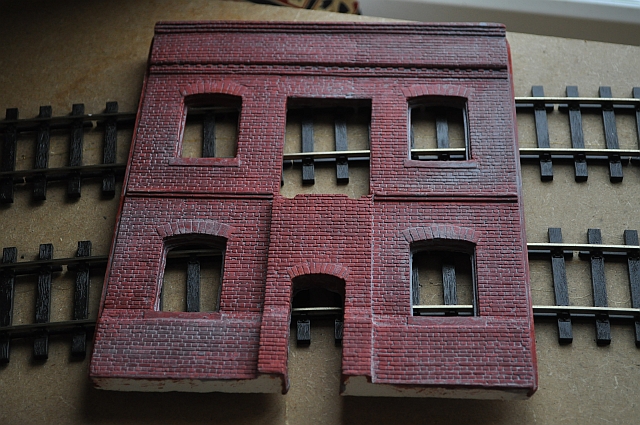
So having given the walls etc the basic coat and and then a stronger top coat to seal it off and left them to dry for a day they now look like this: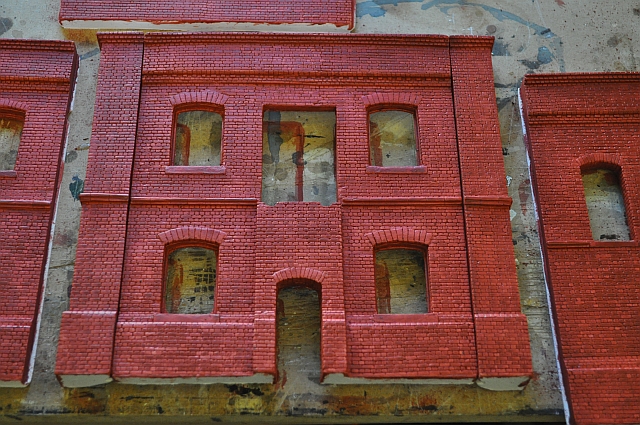
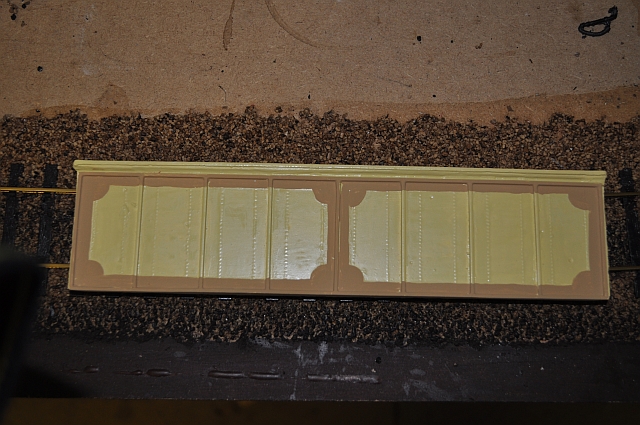
Now the rest of the castings for the tank and the steps etc. The tank was given a wash of 50/50 GWR Coach Cream and thinners and left to dry for a day. Then given a further undiluted coat.
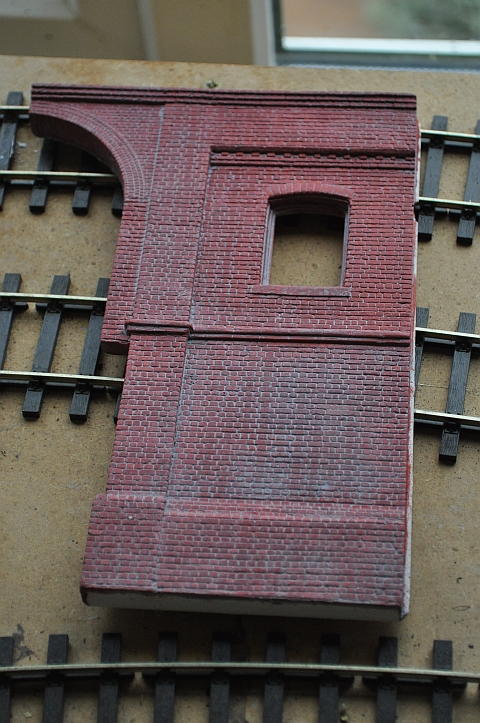
Back to the brick walls etc. I have now applied an acrylic wash of cream mixed with Paynes Grey after wetting the brickwork with a mixture of washing up liquid and water to break down surface tension. I just brushed on the mortar and left it to dry. Once dry you can wipe any excess off leaving the mortar in place.
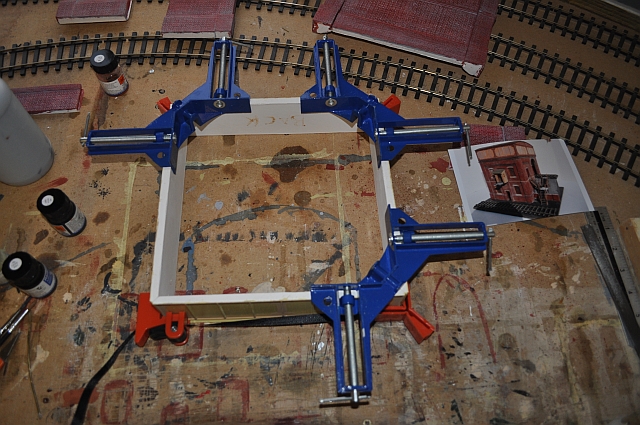
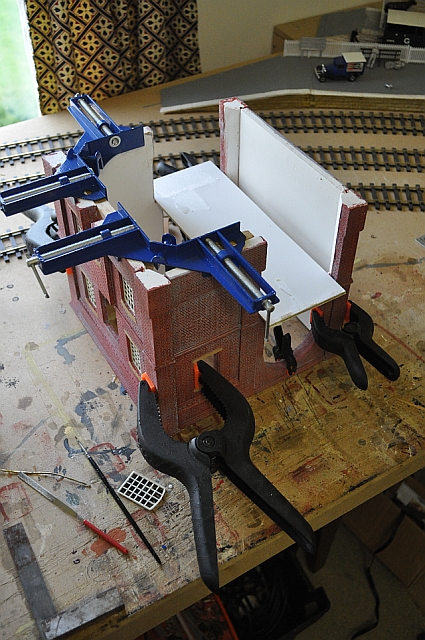
The next stage is to glue all the parts together using a couple of framing clamps.
Starting with the front, I glued the two corner pieces to the front section with PVA woodworking glue.
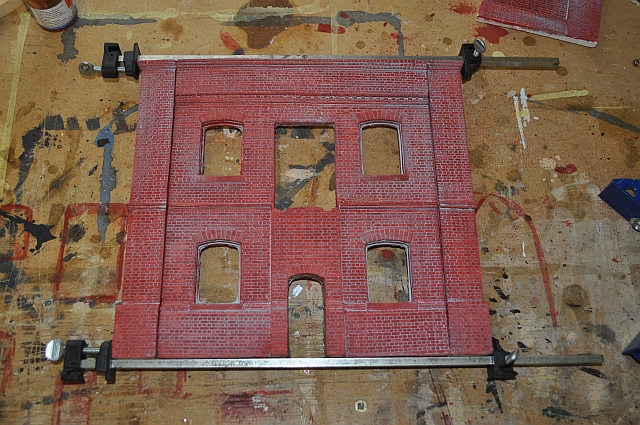
You can see I used clamps to hold the three pieces together - they will dry over night.
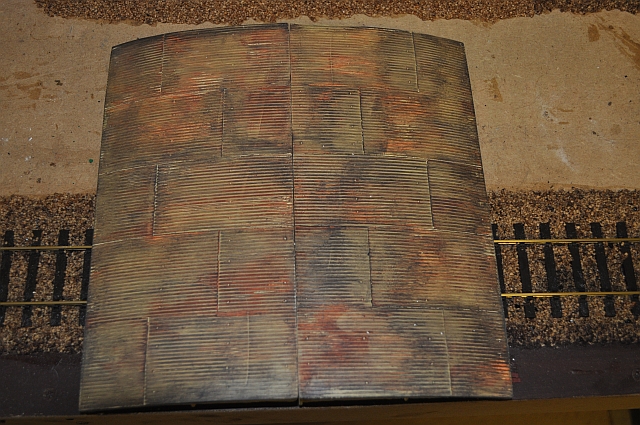
Also experimenting with the roof of the water tank. I need to create a rusting surface. So I used a wash of roof dirt and rust streaked on and then rubbed down with a paper cloth soaked in roof dirt.
Also painted one side of the water tank.
Having painted all four sides they were then glued using framing jigs bought from Squires
After an over night setting. The top was glued onto complete the water tank.
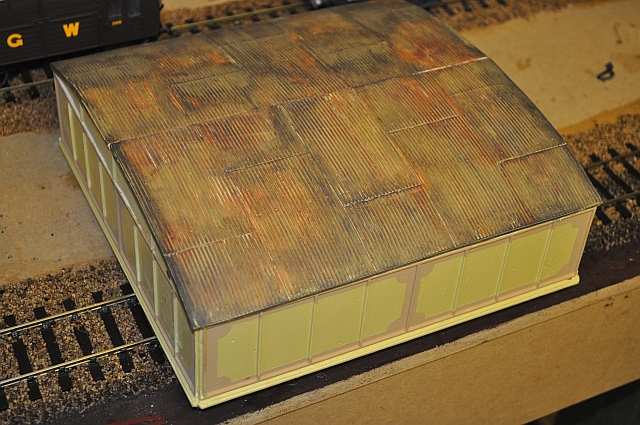
Now for the walls of the coaling stage. The front and back are in one large casting but the sides are in two parts the rear parts are just part of an arch. I decided to put the front and front sides together first. Squaring them up was not too easy. I'm not sure if this was the right way to proceed but when I put the rear on I will find out!And as you can see the windows were inserted, (although I had to remove one again to clamp the walls together!
Finally, decided that the back wall and rear side walls would be better put in now rather than later complete with a floor.
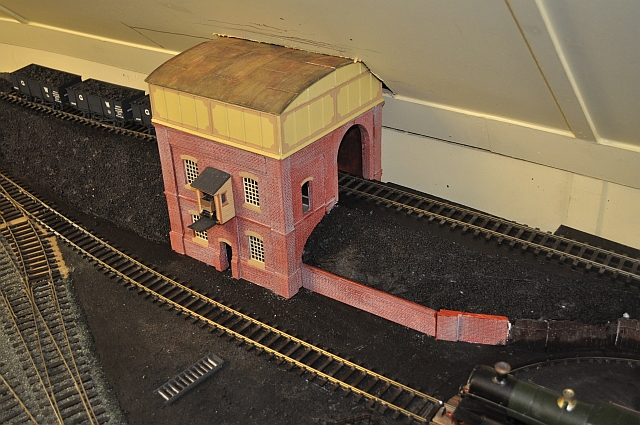
The coaling stage insitu.
Some compromise had to be made to the low arched roof lining to get the coaling stage into the layout. Also track had to be re-laid and a point replaced and reset to accommodate a link between the turntable, coaling stage and the main line station apporach.
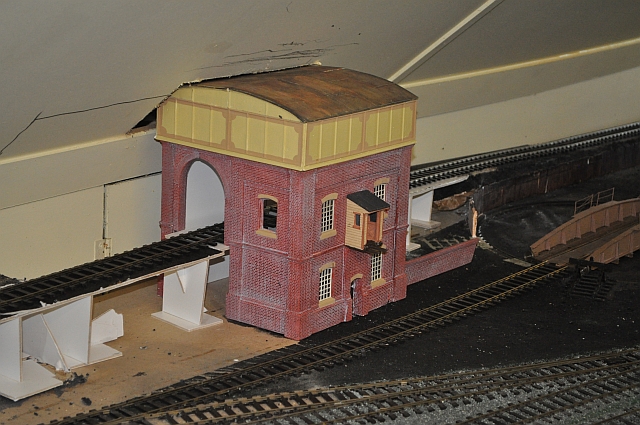
Having enough space to properly site such a large building is an issue. Even with the space I have it was still an issue!
Next the ramps need landscaping.
I use a simple method of screwing up newspaper to fill the gaps and create a 'rough' uneven surface.
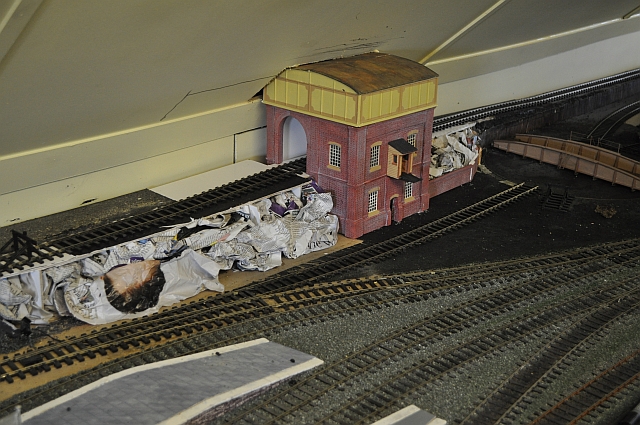
It helps to tag the edges of the paper in place with a hot glue gun. Then using kitchen towel, soak it on one side in PVA and apply it over the paper to create a solid like surface.
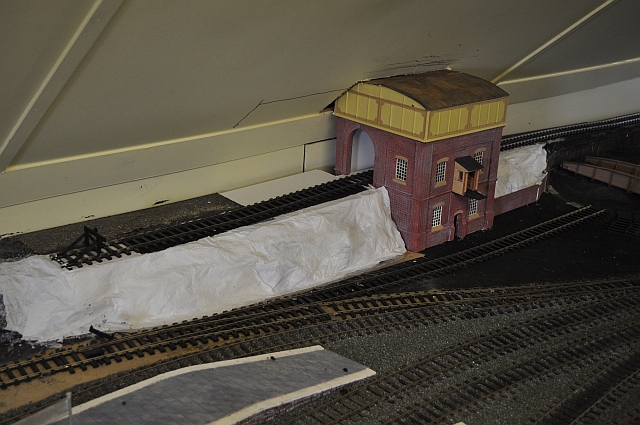
This now needs to dry off for a least a day!
I use a mixture of Paynes Grey, PECO ballast PVA glue and a little water to make up a thick gritty paste to cover the whole area. This acts as a strengthening layer and also prepares the surface for any other additions such as grass or colouring later on. Its litrerally pasted onto the white paper landscape and allowed to dry.
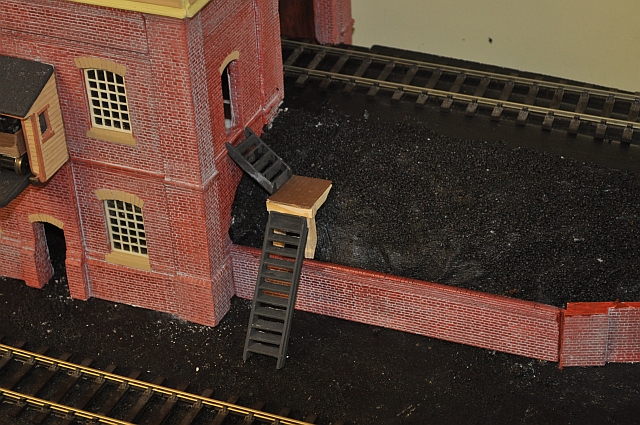
Some attention to access on the upper level is now required! The steps included in the kit are made of plaster and require some care!
Townstreet buildings
Coaling Stage
The painting process
The construction
New setting over the old location
The setting and operation
Relaying track and approach to the stage
Finishing touches re painting etc
Stair access and embankment construction